Growing & Seeds · Growing
When and How to Harvest Microgreens
Many microgreens are ready to harvest during a crop-dependent window that begins when the cotyledons—the first leaves from the seed—are fully open, normally colored, and fresh-looking. Depending on the crop, harvest may occur before true leaves appear or as the first true leaves begin to emerge. Check leaf development and the overall condition of the tray rather than relying on one universal day count. Virginia Cooperative Extension
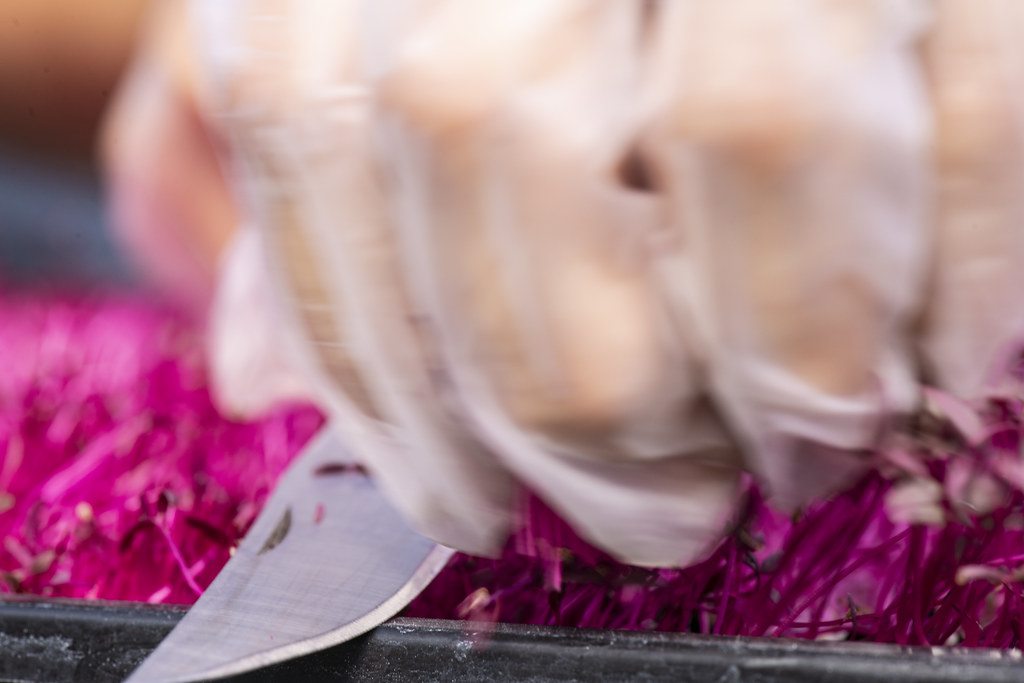
To harvest microgreens, wash your hands, clean your tools and work surface, and use sharp scissors or a knife to cut stems just above the growing medium. North Carolina Department of Agriculture & Consumer Services Leave the roots and substrate in the tray, refrigerate the greens promptly, and rinse them gently under clean running water before eating. FDA
What Are Microgreens?
Microgreens are young edible seedlings grown from vegetable, herb, grain, or legume seeds. They are usually harvested by cutting the stems above the growing medium, leaving the roots behind.
They are distinct from sprouts and baby greens, although exact definitions can vary somewhat among growers, researchers, and food sellers.
| Type | Typical harvest stage | How it is usually eaten |
|---|---|---|
| Sprouts | Very early germinated seed stage | Whole seedling, often including the seed and root |
| Microgreens | Young seedling stage | Stems and leaves, cut above the growing medium |
| Baby greens | Later stage than microgreens | Leaves harvested after further growth |
This distinction matters at harvest time. Sprouts are generally produced and eaten whole, while microgreens are normally cut to keep roots and growing media out of the edible portion. University of Maryland Extension
When Are Microgreens Ready to Harvest?
The best harvest cues are visible: leaf development, color, stem condition, and freshness. A projected harvest date can help you know when to start checking the tray, but it should not be the final decision.
Look at the Leaves, Not Just the Calendar
For many microgreens, a practical harvest window includes these signs:
- Cotyledons are fully open and expanded.
- Leaves have the normal color expected for the crop.
- Stems and leaves look upright, fresh, and well hydrated.
- The crop is free from obvious spoilage, slime, or visible mold.
- True leaves are absent, just emerging, or beginning to develop, depending on the crop.
Cotyledons are the first leaves produced from the seed. They are often simpler in shape than the foliage the mature plant will eventually produce. True leaves emerge later and usually look more like the mature plant’s leaves. Utah State University Extension
There is no single perfect harvest stage for every crop. The best point can vary with the species, cultivar, growing conditions, intended use, preferred flavor, and desired appearance. Crop-specific guidance should take priority when it is available.
Cotyledons vs. True Leaves: How to Tell the Difference
Cotyledons are the seed leaves. They emerge first and provide energy to the seedling during its earliest growth.
True leaves develop afterward. They often have a more recognizable shape:
- Brassica crops may begin with smooth, rounded cotyledons before developing more distinctive mature-style leaves.
- Pea shoots eventually develop recognizable pea foliage and tendrils.
- Sunflower greens are often harvested when their broad cotyledons are fully open, before later leaf growth changes their texture and appearance.
For a general harvest decision, fully opened cotyledons are a useful signal to begin checking the tray closely. For some crops, the first signs of true-leaf growth remain within the preferred harvest window.
How Many Days Do Microgreens Take to Harvest?
Many home-grown microgreens are harvested within roughly 7–21 days after sowing, but that is a broad estimate—not a guaranteed schedule. University of Maryland Extension
Timing can vary with:
- Crop and cultivar
- Germination speed
- Temperature
- Light
- Planting density
- Growing medium
- Watering and other growing conditions
Some crops develop quickly, while others take longer to reach a usable harvest stage. Instead of cutting automatically because a certain number of days has passed, inspect the tray daily once seedlings are established. University of Maryland Extension
Is Height a Reliable Harvest Cue?
Height can help, but it should not be used alone. A microgreen may be short or tall depending on the crop and growing conditions. University of Maryland Extension
Use height as a supporting cue alongside leaf stage and crop condition:
- Cotyledons are open and expanded.
- The greens look fresh and upright.
- Stems are long enough to cut cleanly above the growing medium.
- The crop has not grown beyond the stage you prefer for that variety.
Avoid a universal rule such as “harvest at exactly two inches.” Leaf development is more useful than a single height measurement.
How to Harvest Microgreens Step by Step
1. Prepare a Clean Harvest Area
Microgreens are perishable fresh produce, so clean handling matters.
Before harvesting:
- Wash your hands with soap and water.
- Clean the counter or harvest surface.
- Use clean food-contact containers.
- Clean your scissors, knife, or other cutting tools.
- Keep raw meat, pets, dirty gardening tools, and used growing media away from the harvest area.
These practices help reduce avoidable contamination risks, but they cannot guarantee that a crop is free from contamination. Like other fresh produce, microgreens can be affected by conditions during growing, harvesting, storage, and preparation. FDA
2. Use Clean, Sharp Scissors or a Knife
For a home tray, clean, sharp kitchen scissors are usually sufficient. A clean, sharp knife can also work well if it gives you good control.
Cutting is generally preferable to pulling because it leaves the roots and most of the growing medium in the tray. Commercial growers may use dedicated sanitized shears or harvesting equipment, but specialized tools are not necessary for a typical home harvest. Virginia Cooperative Extension
3. Cut Just Above the Growing Medium
Gather a small section of greens gently and cut the stems just above the soil or soilless growing medium.
The goal is to:
- Leave roots behind.
- Keep most growing media out of the harvested greens.
- Avoid cutting so low that substrate comes along with the crop.
- Prevent crushing by harvesting in manageable sections.
Cutting high enough above the growing medium is especially important because soil and soilless substrates can introduce debris or contamination into the edible harvest. North Carolina Department of Agriculture & Consumer Services
Place the harvested greens loosely in a clean container rather than packing them down.
4. Sort the Harvest
Before serving or storing, remove loose seed hulls, damaged stems, or other unwanted material as practical.
Do not eat greens that are clearly spoiled. Discard greens that are:
- Slimy
- Unusually sour- or off-smelling
- Visibly moldy
- Soft, collapsed, or decaying
Appearance alone cannot identify every food-safety concern. However, visible mold, slime, and unusual odors are clear signs that greens should not be eaten. FDA
Should You Harvest at the Cotyledon Stage or Wait for True Leaves?
There is no one answer for every microgreen crop.
Many microgreens are harvested once their cotyledons are fully open. Others may be harvested as the first true leaves begin to emerge. Some crops are intentionally grown a little longer for larger leaves, a different texture, or a more developed flavor.
Think of harvest as a window rather than a strict pass-or-fail moment:
- Fully opened cotyledons: A common early microgreen stage.
- True leaves just emerging: Often still within the harvest window, depending on the crop.
- Later growth: May be suitable for some crops, but can change the greens’ size, tenderness, flavor, and appearance.
If you are growing a specific crop such as pea shoots, sunflower greens, broccoli microgreens, or radish microgreens, use crop-specific guidance for the most precise timing.
Should You Wash Microgreens After Harvest?
If You Are Eating Them Now
Before eating fresh microgreens, gently rinse them under clean, potable running water.
Do not use:
- Soap
- Dish detergent
- Bleach
- Commercial produce wash
The FDA advises rinsing produce under running water rather than using soap, detergent, or commercial produce washes. Rinsing may reduce some surface contamination, but it is not a sterilization step and does not eliminate all bacteria. FDA
Dry delicate greens carefully with clean paper towels. A clean salad spinner may be useful for sturdier greens if it does not bruise them.
If You Are Storing Them
If you are not eating microgreens immediately, refrigerate them promptly and wash them close to serving time when practical.
Washing well before storage can leave extra moisture on delicate leaves and may shorten usable quality. This is a freshness consideration, not a substitute for safe growing, clean harvesting, or refrigeration. Penn State Extension
If you do wash greens before storage, dry them as gently and thoroughly as possible before placing them in a clean container.
How to Store Harvested Microgreens
Refrigerate harvested microgreens promptly. The FDA recommends keeping perishable produce in a refrigerator at or below 40°F (4°C). FDA
For better quality:
- Use a clean container.
- Protect the greens from crushing.
- Avoid leaving cut greens at room temperature for extended periods.
- Limit excess moisture in the container.
- Check stored greens before serving.
There is no universal refrigerator shelf life for all microgreens. Storage life varies by crop, harvest maturity, packaging, temperature, moisture, and handling. Research on packaged mustard microgreens, for example, found that storage temperature affected sensory quality and storage life; that result should not be treated as a universal timeline for every variety. Dayarathna et al., 2023
Refrigeration slows deterioration, but it does not make spoiled or contaminated greens safe to eat.
Can You Harvest Microgreens More Than Once?
Most densely sown microgreen trays are treated as one-cut crops. The first harvest is typically the main harvest.
A few crops may produce a smaller second cutting under favorable conditions, but regrowth is variable and may be less uniform or productive than the first harvest. University of Florida IFAS
If you want another dependable harvest, starting a new tray is usually the more predictable approach.
Common Microgreen Harvest Mistakes
Relying Only on a Day Count
A crop may be ready earlier or later than expected. Use leaf development and freshness as the deciding factors.
Waiting for the Same True-Leaf Stage Across Every Crop
Some crops are harvested with fully opened cotyledons, while others are harvested as true leaves begin to emerge. One rule does not fit every variety.
Cutting Too Low Into the Growing Medium
Cutting into soil or other substrate can bring growing media into the edible harvest. Cut just above the medium and leave roots behind.
Pulling Greens From the Tray
Pulling usually brings roots and growing media along with the harvest. Cutting is generally cleaner and easier.
Using Dirty Tools or Containers
Fresh greens can pick up contamination from hands, counters, tools, and storage containers. Clean your harvest setup before beginning.
Washing With Soap or Produce Wash
Use clean running water for rinsing. Soap, detergent, bleach, and commercial produce washes are not recommended for microgreens.
Leaving Cut Greens Warm for Too Long
Microgreens are perishable. Refrigerate them promptly if you will not eat them right away.
Assuming Washing Sterilizes the Crop
Rinsing can reduce some surface contamination, but it does not eliminate all bacteria or correct problems that may have occurred during growing or harvest.
Treating Sprouts and Microgreens as Interchangeable
Sprouts are commonly eaten whole, including roots, while microgreens are normally cut above the growing medium. Their production and handling practices are not identical.
Assuming Home-Grown or Organic Means Risk-Free
Growing method or labeling does not eliminate the need for clean water, clean tools, proper refrigeration, and careful fresh-produce handling.
What to Do After Harvest
Once your microgreens are cut:
- Eat them promptly or refrigerate them.
- Rinse under clean, potable running water before serving.
- When practical, store greens cold and wash near the time you plan to eat them.
- Discard greens that become slimy, visibly moldy, or unusually odorous.
- Start a new tray if you want another full microgreen harvest.
Research & Further Reading
- University of Maryland Extension — Growing Microgreens and Baby Greens Indoors
- Virginia Cooperative Extension / Virginia Tech — Introduction to Microgreen Production in Indoor Vertical Farms and Greenhouses
- Utah State University Extension — Grow Your Own Microgreens
- Iowa State University Extension and Outreach — How to Grown Your Own Microgreens
- Penn State Extension — A Step-By-Step Guide for Growing Microgreens at Home
- University of Florida IFAS Gardening Solutions — Microgreens
- North Carolina Department of Agriculture & Consumer Services — Microgreen Produce Safety Fact Sheet
- U.S. Food and Drug Administration — 7 Tips for Cleaning Fruits, Vegetables
- U.S. Food and Drug Administration — Selecting and Serving Produce Safely
- Riggio GM, Wang Q, Kniel KE, Gibson KE. Microgreens—A Review of Food Safety Considerations Along the Farm to Fork Continuum.
- Turner ER, Luo Y, Buchanan RL. Microgreen Nutrition, Food Safety, and Shelf Life: A Review.
- Dayarathna NN, et al. Effect of Storage Temperature on Storage Life and Sensory Attributes of Packaged Mustard Microgreens.
- Company/product information only—not scientific evidence: Andi’s Way — Fresh Organic Microgreens collection
- Company/product information only—not scientific evidence: Andi’s Way — Organic Microgreen Seeds and Beans collection
Frequently asked questions
Related guides
How to Bottom-Water Microgreens Without Waterlogging the Tray
Learn how to bottom-water microgreens with nested trays, moisture checks, drain-off steps, and practical tips to avoid soggy media and standing water.
12 min read
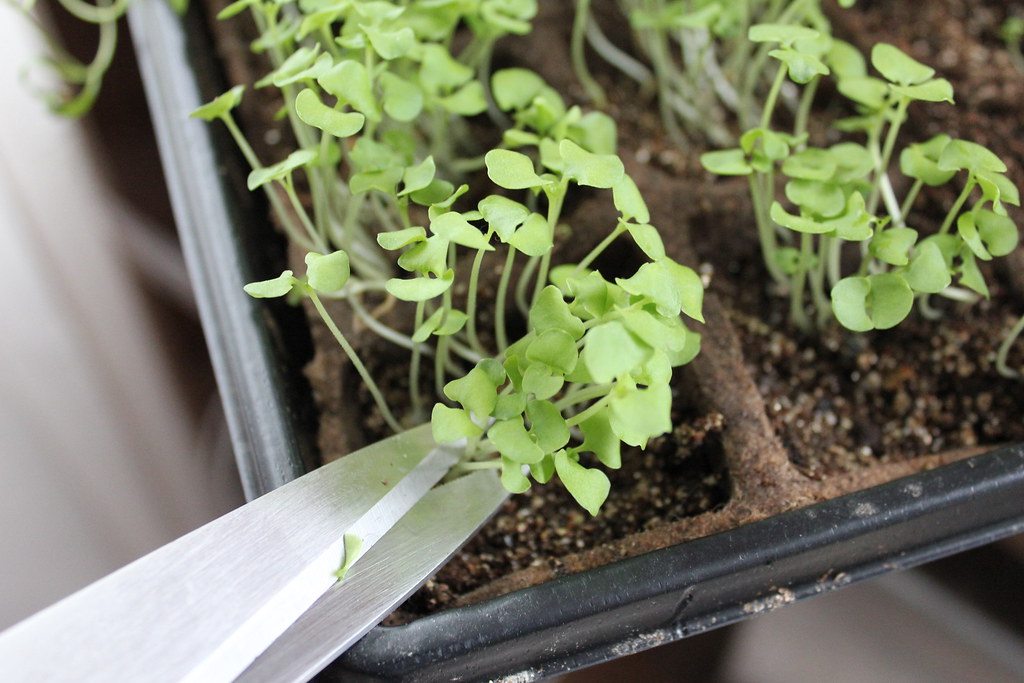
Best Growing Medium for Microgreens: Soil vs Coco Coir vs Grow Mats
Compare potting mix, coco coir, and grow mats for microgreens. Learn the trade-offs in watering, cleanup, crop support, reuse, tray setup, and food safety.
16 min read
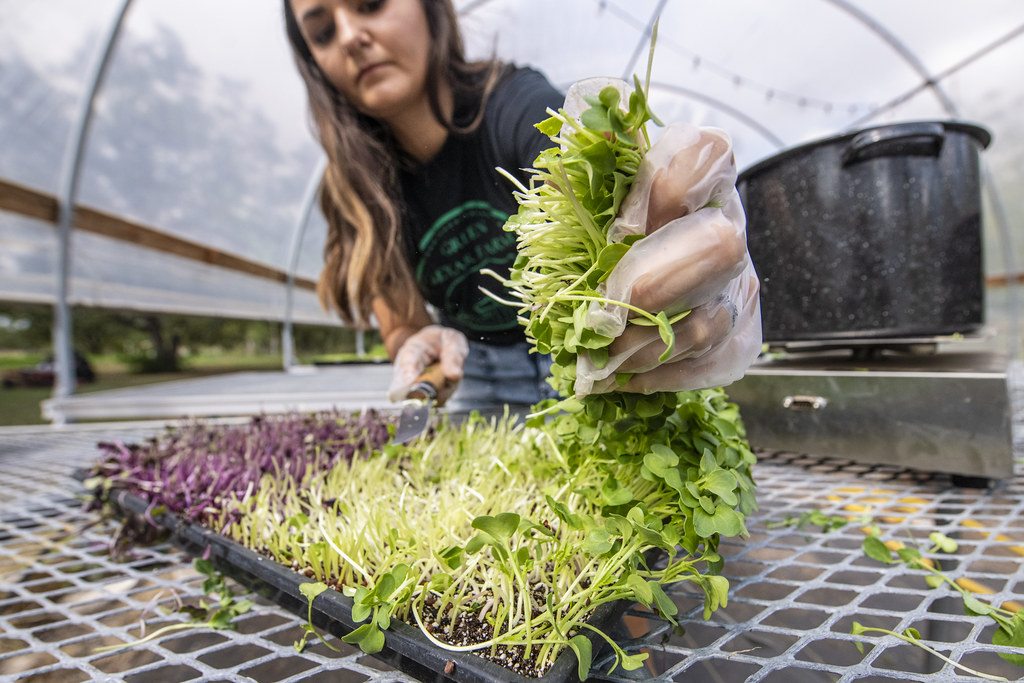
Do Microgreens Regrow After Cutting?
Most microgreens are a one-time harvest. Learn why some shoots may regrow after cutting, how baby greens differ, and when reseeding is the better choice.
8 min read
Stay in the loop
New guides, when they publish
An occasional email when a new guide goes live. No spam.
Your email is stored privately for future guide updates. No emails are being sent yet. Privacy policy