Growing & Seeds · Sunflower Microgreens
How to Grow Sunflower Microgreens From Seed
Sunflower microgreens are grown by soaking suitable sunflower seed for about 8–12 hours, sowing it evenly in a shallow tray of pre-moistened growing medium, and covering it during early germination. A short period of modest weight helps the large seeds stay in contact with the medium while roots anchor. After about three covered days, move the tray into light, maintain even moisture without waterlogging, provide gentle airflow, and harvest when the cotyledons are open and the first true leaves are beginning to emerge.
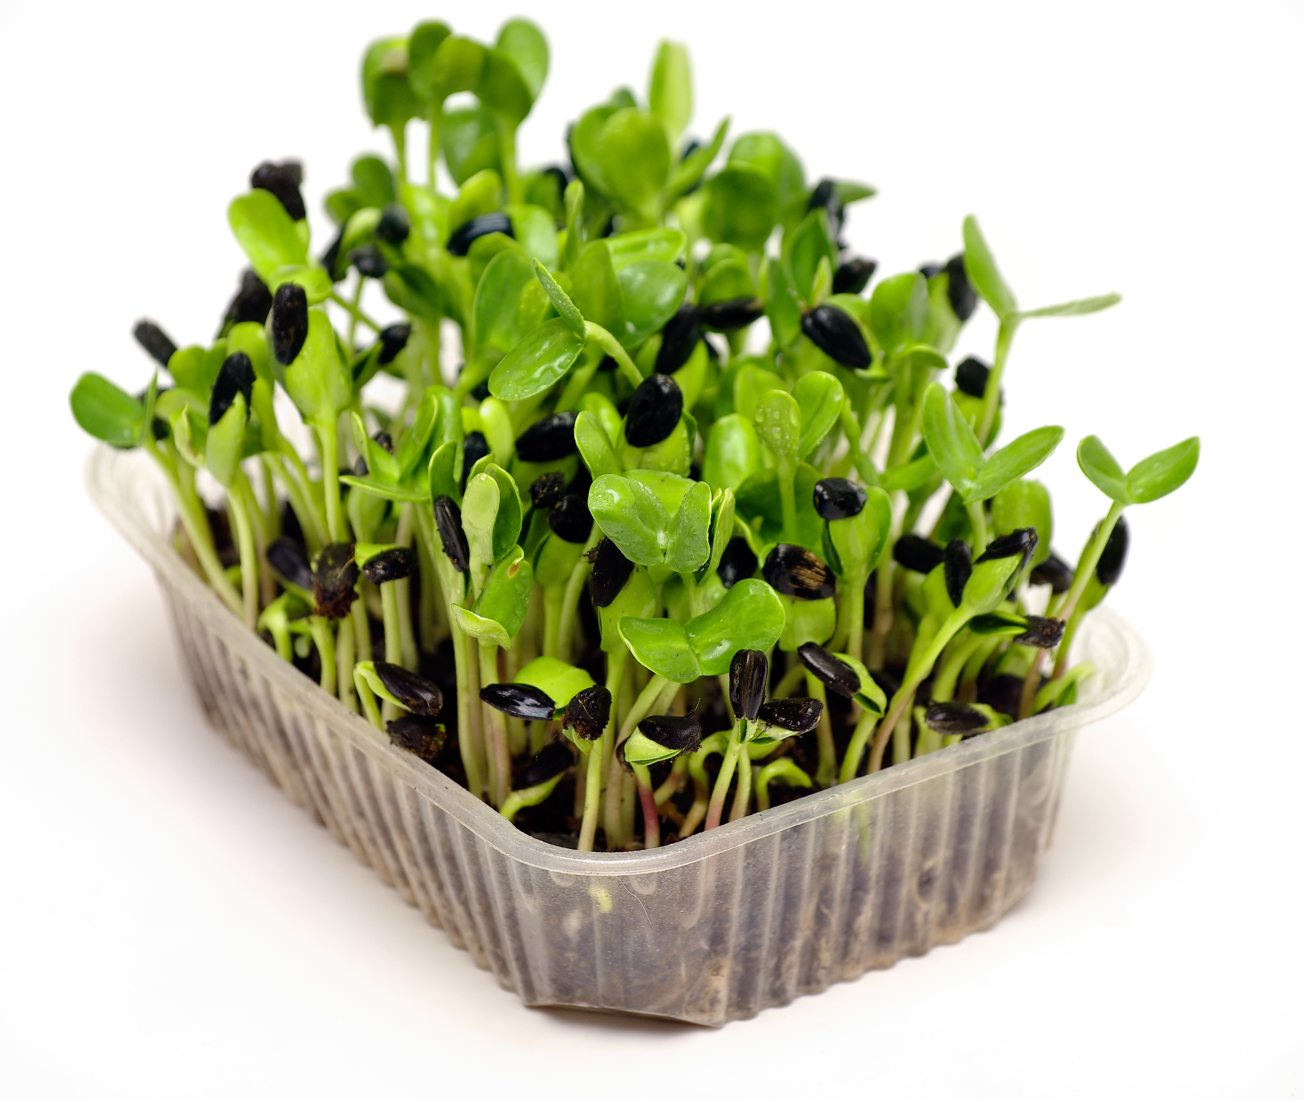
Utah State University Extension lists a sunflower reference protocol of a 12-hour presoak, three days covered, and roughly 9–10 days from sowing to harvest.[1] Treat those figures as a starting point rather than a rigid schedule. Seed lot, tray size, growing medium, room temperature, light, and watering all affect the crop.
Sunflower Microgreens at a Glance
| Stage | What to do | Typical starting timing | What to look for |
|---|---|---|---|
| Soak | Soak and thoroughly drain the seed | 8–12 hours | Seeds look hydrated and swollen |
| Sow | Spread seed evenly over moist growing medium | Day 0 | Even coverage without piles or large gaps |
| Weighted germination | Keep the tray dark with modest direct weight early on | First half of covered period | Roots begin anchoring into the medium |
| Covered germination | Continue darkness without pressing on emerging shoots | Through about Day 3 | Shoots are developing and ready for light |
| Light and growth | Uncover, provide light and airflow, and monitor moisture | About Days 4–9/10 | Cotyledons become green and open |
| Harvest | Cut above the growing medium with clean tools | About Days 9–10 | First true leaves are beginning to appear |
What You Need to Grow Sunflower Microgreens
Suitable sunflower seed
Choose sunflower seed intended for edible microgreen or sprouting production. Seed sold for this purpose provides a clearer intended use than seed sold for uses such as bird feed or planting.
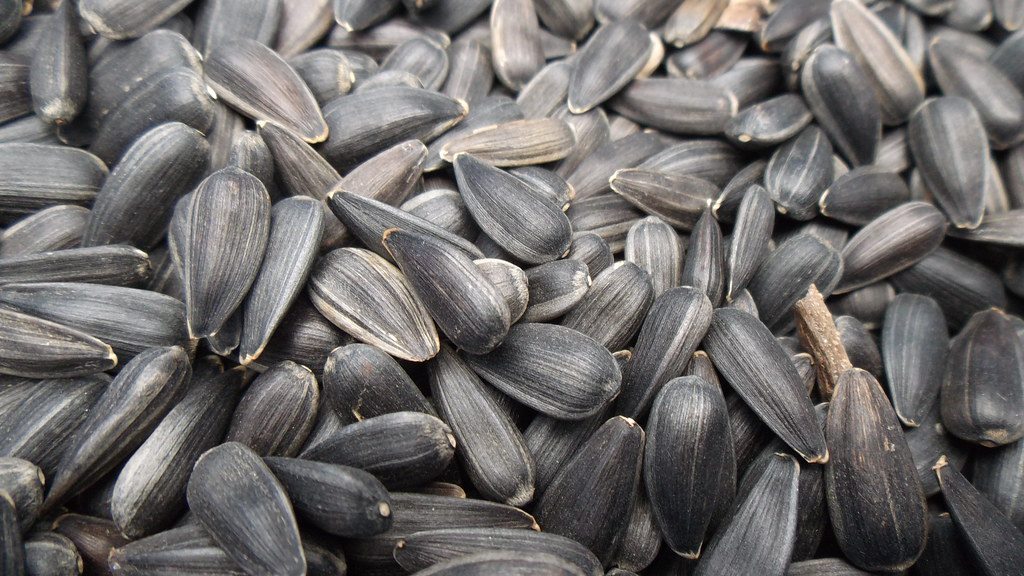
Look for seed that is not chemically treated for planting and has clear sourcing and germination information where available. Black-oil sunflower seed is one option for this crop, although seed size, variety, and germination quality can all affect your results.
Avoid broad assumptions about bird seed. Not every bird-seed product is necessarily unsuitable, but seed sold specifically for edible sprouting or microgreen production is the more straightforward choice for a crop that may be eaten raw.
A shallow tray with drainage plus a solid lower tray
A simple two-tray setup works well:
- Upper tray: A shallow tray with drainage holes for the growing medium and crop.
- Lower tray: A solid tray beneath it to catch runoff and allow bottom watering.
Penn State Extension recommends clean, food-suitable growing equipment with drainage holes and describes using a lower tray for bottom watering.[2] Clean trays are especially important because microgreens are commonly consumed raw.
A clean growing medium or mat
Sunflower microgreens can be grown in a clean microgreen growing medium or on a suitable growing mat. The tray does not need to be deep because the crop is harvested young.
Use a clean medium and avoid products containing raw manure or other untreated animal-origin amendments.[3] Before sowing, moisten the medium thoroughly and let excess water drain so it is evenly damp rather than muddy or waterlogged.
Step 1: Soak the Sunflower Seeds
Sunflower seed is relatively large and hard, so an overnight soak can be a useful germination step. Penn State Extension recommends an 8–12-hour soak for larger or hard-coated microgreen seeds, while Utah State University Extension uses a 12-hour presoak in its sunflower protocol.[1][2]
- Place the seed in a clean container.
- Cover it with potable drinking water.
- Soak for about 8–12 hours.
- Drain the seed thoroughly before sowing.
The seed should be hydrated but not left sitting in excess water after soaking. Drain well so the seeds can be spread evenly across the tray.
Step 2: Prepare the Tray and Growing Medium
Fill the drainage tray with a shallow, level layer of growing medium. Moisten it evenly, then let excess water drain away. The surface should be damp throughout but should not contain standing water.
Set the drainage tray into or above the solid lower tray. The lower tray catches runoff and makes it easier to water from below later in the growing cycle.
Before planting, check that:
- The trays are clean.
- The drainage holes are open.
- The medium is evenly moist.
- There is no standing water in the growing medium.
- Your hands, soaking container, and tools are clean.
Good drainage and clean handling help reduce excess moisture and contamination concerns in a raw crop.[3]
Step 3: Measure and Sow the Seed
Start with a documented sunflower benchmark
There is no universal sunflower microgreen seeding rate for every home setup. Tray interiors vary, seed sizes differ, and media and mats hold water differently.
For a standard 1020 tray, Utah State University Extension lists 48 grams of sunflower seed as a reference point.[1] Use that amount as a first-trial benchmark, not as a permanent formula.
A tray described as “10 by 20” may have a different usable interior growing area than another 10-by-20 tray. A seed lot with larger seeds may also fill the tray differently than a lot with smaller seeds.
Aim for even coverage
Spread the drained seed in an even layer over the moist medium. Avoid dense piles, thick clumps, and large bare patches.
An evenly seeded tray is easier to manage because water, airflow, and emerging shoots are more consistent across the surface. Crowding can make the crop more prone to uneven growth and persistent moisture near the stems.
Adjust your density over time
Use your first tray to learn what works in your environment. Consider using slightly less seed next time if you notice:
- Compressed or crowded shoots
- Uneven growth across the tray
- Moisture that lingers under the canopy
- Poor airflow near the base of stems
Consider a small increase if germination was strong but the tray had large gaps and low overall coverage.
Virginia Cooperative Extension recommends testing microgreen density for the specific growing system, substrate, species, and cultivar rather than assuming one rate will work everywhere.[4] Controlled-environment research also shows that seeding density can substantially affect sunflower microgreen yield and crop performance.[5]
Change only one variable at a time. For example, keep the same seed, medium, light, and watering routine while making a modest seed-rate adjustment.
Step 4: Use Weight and Blackout During Germination
Why sunflower benefits from early weight
Sunflower is one of the larger-seeded microgreen crops that may benefit from weight during early germination.[2] The purpose is to improve seed-to-medium contact and encourage roots to grow downward instead of lifting seeds and the top tray upward.[1]
A practical approach is to place a second clean tray directly on top of the seeded tray and add modest weight. Utah State University Extension’s reference setup uses approximately 2–5 pounds during the first half of the covered period.[1]
The goal is contact and root anchoring—not heavy compression.
Keep the crop covered for about three days
Utah State University Extension uses about three covered days for sunflower microgreens.[1] During the first half of that period, direct tray contact and modest weight can help roots establish. Once seedlings are pushing upward, remove the added weight so developing shoots are not compressed.
The tray may remain in darkness for the rest of the covered phase without continued direct pressure. Check the crop rather than relying only on the clock: temperature, seed vigor, moisture, and light conditions can all shift the timing.
Weight may help with hulls, but it is not a guarantee
Stuck seed hulls are a familiar sunflower microgreen issue. Limited crop-specific research found that weighted covers reduced attached hulls in a small hydroponic burlap trial, but greater cover weight was also associated with reduced yield.[6]
That does not establish an ideal weight for every home grower. It does support a practical middle ground: use modest early weight for seed contact, then remove direct pressure before it interferes with emerging shoots.
Step 5: Move the Tray Into Light
After the covered germination stage, uncover the tray and place it under a grow light or in a bright window.
A grow light is generally the more controllable option. Utah State University Extension used 18 hours of light in its reference setup, while noting that a south-facing window may also work.[1] Window-grown trays can receive less consistent light depending on season, weather, orientation, and distance from the glass.
After uncovering:
- Give seedlings room to stand upright.
- Provide gentle airflow around the tray.
- Monitor the cotyledons as they open and assess overall color and upright growth after the tray is moved into light.
- Rotate a window-grown tray if growth consistently leans toward the light.
Gentle airflow is particularly useful around a sunny window, where warmth and humidity can build around the crop.[1]
Step 6: Water Without Soaking the Crop
Once the seedlings are established, bottom watering is a practical option. Add water to the solid lower tray and allow the medium to draw up moisture from below.
Bottom watering can help maintain moisture without repeatedly wetting the foliage from above. Penn State Extension describes a nested tray approach in which water is added to the lower tray without contacting the greens directly.[2]
Check the crop regularly instead of following a rigid daily watering schedule. Water use varies with:
- Room temperature
- Light intensity
- Airflow
- Growing medium or mat
- Seed density
- Crop size and growth stage
The goal is moist growing medium, not a saturated tray. Standing water, overly wet media, excessive humidity, and poor airflow can contribute to disease pressure and collapsing seedlings.[3][7]
Step 7: Deal With Stuck Sunflower Hulls
Attached seed hulls are a crop-quality issue, not automatic evidence that the tray has failed.
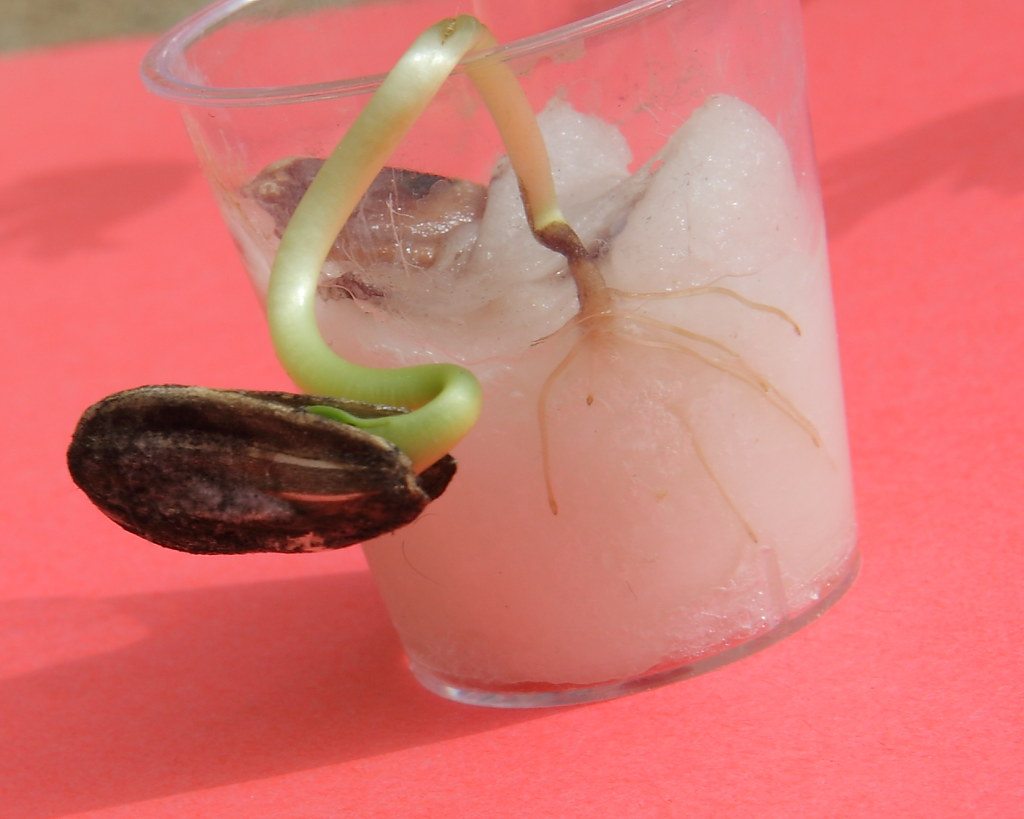
After uncovering the tray, inspect the emerging cotyledons gently. Some hulls loosen naturally as the leaves open. Before harvest, remove loose hulls carefully with clean fingers.
Avoid pulling hard on hulls that are firmly attached. Aggressive removal can tear leaves or break stems.
If hulls are a recurring problem, review your next tray’s early conditions:
- Was the seed spread evenly?
- Was the growing medium evenly moist at sowing?
- Did the seed have good contact with the medium?
- Was modest weight used during early germination?
- Was direct weight removed before shoots were compressed?
These adjustments may reduce hull attachment, but no method guarantees a completely hull-free sunflower tray.
Step 8: Know When Sunflower Microgreens Are Ready to Harvest
Sunflower microgreens are generally ready to harvest when:
- The cotyledons are open.
- The shoots are upright and green.
- The first true leaves are beginning to emerge.
Utah State University Extension lists a harvest window of roughly 9–10 days from sowing for its sunflower protocol and notes that microgreens may be harvested when true leaves begin to appear or sooner, depending on preference.[1]
To harvest:
- Wash your hands.
- Use clean scissors or a clean knife.
- Cut the stems above the growing medium.
- Keep growing medium out of the harvest container.
- Remove loose hulls as needed.
Harvested microgreens should be handled gently to avoid bruising and to keep debris from the growing tray out of the finished crop.
Common Sunflower Microgreen Problems
Uneven germination
Uneven germination can result from uneven seed distribution, inconsistent moisture, variable seed quality, or poor seed-to-medium contact.
For the next tray, start with the basics:
- Spread seed more evenly.
- Moisten the growing medium consistently before sowing.
- Use modest early tray contact and weight.
- Keep notes on your seed lot and conditions.
Shoots are lifting the cover
A lifting cover can occur as vigorous shoots develop. Remove direct weight once shoots are pressing upward rather than adding more pressure.
Hulls are stuck to the leaves
Stuck hulls are common enough to plan for with sunflower. Remove loose hulls gently and review your early germination routine for the next crop.
Appropriate moisture, seed contact, and modest early weight may help, but attached hulls cannot always be prevented.
Leaves are pale after blackout
Seedlings may look pale when first uncovered after a dark germination period. Move the tray into appropriate light, maintain even moisture, and monitor overall growth. The important signs are whether the crop develops upright structure, opens its cotyledons, and remains free of obvious spoilage.
Excess moisture, collapsing seedlings, or suspected mold
Focus on prevention:
- Start with clean trays and tools.
- Use potable water.
- Maintain drainage.
- Avoid standing water.
- Use a clean growing medium.
- Provide gentle airflow.
- Avoid overly dense seeding.
Do not try to diagnose white fuzz from a short description or photo alone. If the crop has obvious spoilage, sliminess, off odors, or collapsing tissue, do not eat it.
Overcrowding
A crowded sunflower tray may develop uneven shoots, retain excess moisture, and receive less airflow around the lower stems.
If a tray appears crowded despite good germination, reduce the seed amount modestly on the next attempt. Make gradual changes so you can identify what improves the crop.
Food Safety for Homegrown Sunflower Microgreens
Sunflower microgreens are often eaten raw, so clean handling matters from soaking through harvest.
Use these practical precautions:
- Wash hands before handling seed and harvesting.
- Use clean soaking containers, trays, scissors, knives, and harvest containers.
- Use potable drinking water for soaking and irrigation.
- Choose seed intended for edible microgreen or sprouting production.
- Use a clean growing medium or mat.
- Avoid media containing raw manure.
- Minimize standing water.
- Provide gentle airflow around the crop.
- Keep harvest tools and containers clean.
These practices help reduce risk, but they do not eliminate every food-safety concern associated with raw produce.[3]
Post-harvest washing requires care. Penn State’s food-safety guidance for production notes that washing can spread contamination when wash water is not clean, while its home-growing guide advises washing microgreens with fresh drinking water immediately before consumption and notes that washing can shorten storage life.[2][3] For home growers, the practical priority is to use safe water, avoid unnecessary handling, and keep the crop and harvest equipment clean from the start.
Sunflower Microgreens vs. Sunflower Sprouts
Sunflower microgreens and sunflower sprouts are different products and harvest stages.
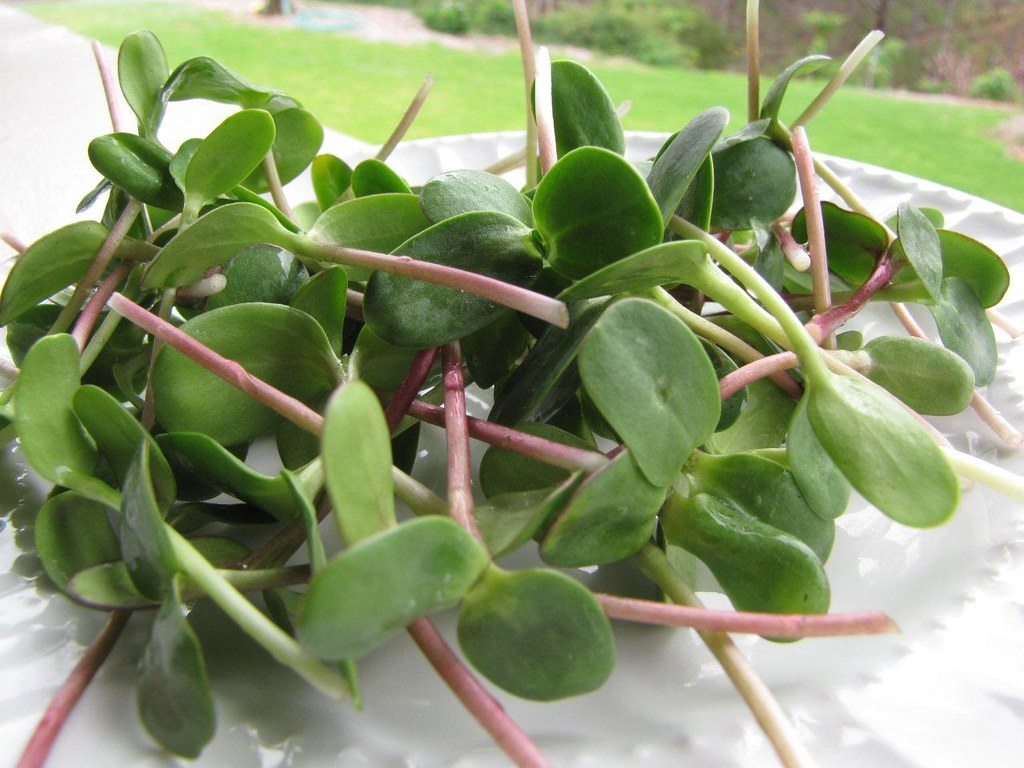
Microgreens are generally grown in a growing medium or on a mat, allowed to develop beyond the earliest sprouting stage, and harvested above the growing surface. Sprouts are grown and eaten at an earlier stage.[3]
Both may be eaten raw, so both call for attention to seed sourcing, water quality, clean equipment, and careful handling.
Research & Further Reading
University and Extension Guidance
- Utah State University Extension. Grow Your Own Microgreens.
- Penn State Extension. A Step-By-Step Guide for Growing Microgreens at Home.
- Penn State Extension. Ensuring Food Safety in Microgreens Production.
- Virginia Cooperative Extension. Introduction to Microgreen Production in Indoor Vertical Farms and Greenhouses.
- Penn State Extension. Safeguard Your Seedlings From Damping-Off.
- Penn State Extension. The ABCs of Microgreens.
Research Studies
- Seeding Density Outweighs Light Intensity in Microgreens Yield on a Vertical Farming System.
- George Mason University, Journal of Student-Scientists’ Research. Removing Inedible Seed Hulls Using Weighted Covers on Two Varieties of Sunflower (Helianthus annuus) Microgreens (Black Oil and Gray Striped) Grown Hydroponically on Burlap.
- Yield Performance, Mineral Profile, and Nitrate Content in a Selection of Seventeen Microgreen Species.
- Seed Disinfestation Practices to Control Seed-Borne Fungi and Bacteria in Home Production of Sprouts.
Food-Safety Reference
- U.S. Food and Drug Administration. Guidance for Industry: Reducing Microbial Food Safety Hazards in the Production of Seed for Sprouting.
Company and Product Information — not scientific evidence
- Andi’s Way. Organic Sunflower Seeds for Sprouting & Microgreens.
- Andi’s Way. Growing Trays.
Frequently asked questions
Related guides
Black Oil Sunflower Seeds for Microgreens: What to Buy and What to Avoid
Learn what to look for in black-oil sunflower seeds for microgreens, how to assess birdseed, and which labels, treatments, and quality signals to avoid.
12 min read
How to Remove Seed Hulls From Sunflower Microgreens
Learn how to remove stuck sunflower seed hulls from microgreens with gentle misting and brushing, plus practical ways to prevent hulls on future trays.
10 min read
Sunflower Sprouts vs. Sunflower Microgreens: What’s the Difference?
Learn how sunflower sprouts and sunflower microgreens differ in growth stage, harvest method, texture, uses, and raw-food safety considerations.
13 min read
Stay in the loop
New guides, when they publish
An occasional email when a new guide goes live. No spam.
Your email is stored privately for future guide updates. No emails are being sent yet. Privacy policy