Growing & Seeds · Radish Microgreens
How to Grow Radish Microgreens: From Seed to Harvest
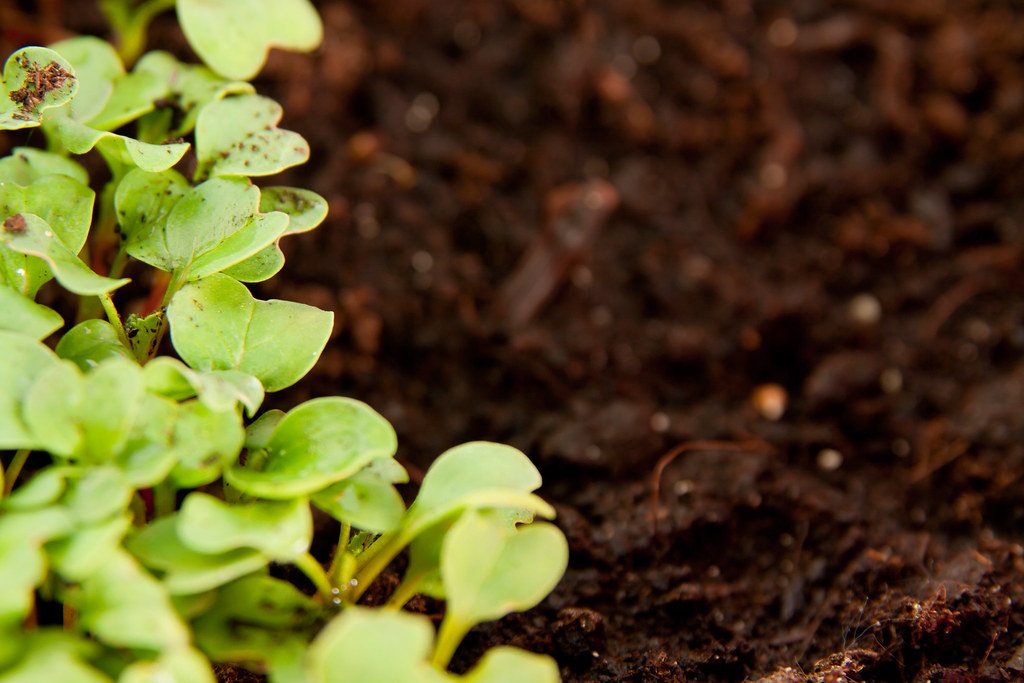
Radish microgreens are a relatively quick, approachable crop for home growers. Start with a clean, shallow tray filled with fresh, moist soilless growing medium. Sow radish seeds dry—presoaking is generally unnecessary—spread them in an even layer, cover the tray during germination, then uncover it and provide bright light. Keep the medium moist rather than saturated, and harvest with clean scissors once the cotyledons are open and the stems are tall enough to cut cleanly.
Radish microgreens are not the same as radish sprouts. Microgreens are grown in a medium, allowed to develop seed leaves, and cut above the medium. Sprouts are typically eaten earlier, with the root and seed still attached. Both are commonly eaten raw, so clean growing and handling practices matter. FDA
Radish Microgreens at a Glance
| Factor | Practical starting point |
|---|---|
| Seed | Radish seed sold or identified for edible growing |
| Presoak | Usually unnecessary; sow dry |
| Tray | Clean, shallow tray; a draining tray set inside a solid tray is useful for bottom watering |
| Medium | Fresh, loose, sterile soilless growing medium |
| Density | Dense and even, with minimal piling; about 10–12 small seeds per square inch is a starting point |
| Germination | Cover until germination or early emergence |
| Light | Bright natural light or a suitable grow light after uncovering |
| Water | Keep evenly moist, not saturated; bottom water after seedlings establish |
| Airflow | Vent covered trays as needed; use gentle circulation if the crop stays damp |
| Harvest | Open cotyledons and stems tall enough for a clean cut, often about 2–4 inches |
| Timeline | Often ready within about 7–21 days, depending on conditions |
| Regrowth | Treat as a one-cut crop |
Seed weight is not universal, even for a standard 10×20 tray. Seed size, germination rate, tray interior dimensions, medium, temperature, light, and desired stem size can all affect the ideal amount. Begin with even coverage, then make modest adjustments on later trays.
What Are Radish Microgreens?
Radish microgreens are young radish plants harvested shortly after their first leaves, called cotyledons, open. They are usually crisp and have a characteristically peppery flavor, although flavor can vary by radish variety and growing conditions.
Most growers harvest them before or around the time the first true leaves begin to emerge.
Radish Microgreens vs. Radish Sprouts
| Radish microgreens | Radish sprouts |
|---|---|
| Grown in a tray with growing medium | Usually grown in a sprouting container without growing medium |
| Grown until cotyledons develop | Eaten at an earlier germinated stage |
| Cut just above the medium | Typically eaten with roots and seed attached |
The difference matters for growing methods, harvest, and handling. It does not mean one should be assumed categorically safer than the other.
What You Need to Grow Radish Microgreens
Radish Seed
Use radish seed intended for edible growing, and follow any supplier directions for the specific variety. Seed marketed for microgreens is not automatically pathogen-free, so sanitation and moisture management remain important regardless of the seed you choose.
Avoid seed that has been treated with pesticides or other products not intended for food production. Seed can be one potential source of contamination, which is one reason to use clean trays, safe water, and fresh growing medium. University of Nevada, Reno Extension
Trays and Drainage
A clean, shallow container is suitable for radish microgreens. University of Florida guidance recommends containers roughly 2 to 3½ inches deep. University of Florida IFAS
A two-tray arrangement is especially practical:
- Upper tray with drainage holes: Holds the medium and crop.
- Solid lower tray: Catches drips and can hold water for bottom watering.
You can use other clean, shallow containers if you can manage excess moisture effectively.
Growing Medium
Use a fresh, loose, sterile soilless medium intended for germination or container growing. Moisten it before sowing so it is evenly damp but not waterlogged.
For a crop commonly eaten raw, avoid raw manure and use care with compost or amendments that may not have been properly processed for pathogen control. A soilless medium simplifies moisture management and reduces the chance of bringing in soil-borne problems. University of Nevada, Reno Extension
Light and Basic Tools
Gather the following:
- A bright window or a suitable grow light
- Clean scissors or a sharp knife
- Potable water
- A spray bottle, watering can, or bottom-watering setup
- Optional gentle fan for humid indoor spaces
Step-by-Step: How to Grow Radish Microgreens
1. Clean the Tray and Prepare the Medium
Begin with clean hands, trays, and tools. Fill the growing tray with fresh, moistened soilless medium and level the surface gently.
The medium should feel evenly moist, not saturated. Avoid standing water in the tray or a medium that stays constantly soggy, since excess moisture can contribute to damping-off and other growing problems. Iowa State University Extension
2. Sow Radish Seeds Dry
For standard radish microgreen growing, presoak is generally unnecessary. Idaho State University specifically advises against soaking radish and other small seeds before planting. Idaho State University
Scatter the dry seeds evenly across the medium. Press them gently into the surface to improve seed-to-medium contact, but do not bury them deeply.
3. Use an Even, Dense Seed Layer
The goal is an even layer of seeds with minimal piling or clumping. For small-seeded microgreens, University of Florida IFAS suggests approximately 10–12 seeds per square inch as a general starting point. University of Florida IFAS
That is a starting point—not a fixed radish rule or a universal grams-per-tray formula.
Use your first tray as feedback:
- Bare gaps or exposed medium: Try slightly more seed next time.
- Persistent dampness or crowded stems: Try using modestly less seed and improving airflow.
- Uneven growth: Improve seed distribution and medium moisture before changing several variables at once.
Research on brassica microgreens indicates that seed density can affect yield and crop characteristics, with results also influenced by the growing medium and production conditions. Ntsoane et al., Horticulturae
4. Cover the Tray During Germination
Cover the tray after sowing to help retain moisture while the seeds germinate. A second clean tray, lid, or other clean cover can work.
Check the crop regularly. Remove the cover when seedlings have germinated and are beginning to emerge so they can receive light. University guidance often gives general covered-germination time ranges, but emergence is a more useful cue than following an exact blackout schedule. University of Florida IFAS
5. Uncover and Provide Bright Light
After emergence, place the tray in bright natural light or under a suitable grow light. A sunny or very bright window may work in some homes, but results depend on the amount and consistency of available light.
Rotate a windowsill tray if seedlings lean strongly toward one side. If the crop looks pale, stretched, or weak, reassess the available light and consider a grow light. University of Maryland Extension notes that grow lights can provide more reliable results than window light alone. University of Maryland Extension
6. Water Without Overwatering
Keep the medium evenly moist, but do not water by the calendar. Check the tray first. If the medium is still damp, it may not need more water yet.
Once seedlings are established, bottom watering can be useful:
- Add a shallow amount of clean water to the solid lower tray.
- Set the planted tray into it long enough for the medium to absorb moisture.
- Remove excess water so the crop is not left sitting in water continuously.
Bottom watering can help keep stems and leaves drier than frequent overhead watering. Idaho State University
7. Improve Airflow if the Crop Stays Damp
Crowding, high humidity, poor ventilation, and excess watering can keep a microgreen tray wet for too long. Vent covered trays as needed, and use gentle air circulation after uncovering if dampness persists.
A small fan may help reduce excess humidity and discourage plant disease, but it cannot guarantee mold prevention. Avoid placing a strong fan directly against young seedlings. University of Maryland Extension
8. Harvest Radish Microgreens Cleanly
Harvest when the cotyledons are fully open and the stems are tall enough to cut cleanly—often around 2–4 inches tall. Growth time varies with light, temperature, seed density, and other conditions. Microgreens broadly may be ready in about 7–21 days; use the crop’s development rather than a fixed date as your main guide. University of Maryland Extension
Use clean, sharp scissors or a knife to cut just above the growing medium. This helps keep roots and growing medium out of the harvest.
Treat radish microgreens as a one-cut crop. Some limited regrowth may occur, but it is not dependable enough to plan on a substantial second harvest. Idaho State University
Do Radish Microgreen Seeds Need To Be Soaked?
No. Radish microgreen seeds are small and are generally sown dry.
They absorb moisture readily from the damp growing medium, unlike larger seeds such as peas or sunflower, which are often soaked before sowing. Dry sowing is simple, avoids extra handling, and is the standard approach recommended in the Idaho State University microgreen instructions. Idaho State University
How Much Radish Seed Should You Use?
Start with a dense, even layer of seeds that covers the tray without creating piles. About 10–12 small seeds per square inch is a reasonable general starting point. University of Florida IFAS
Avoid relying on a single seed weight for every 10×20 tray. Usable tray dimensions, seed size, germination percentage, medium, lighting, and your preferred crop thickness can differ.
After your first tray, make small changes based on what you observe:
- Too sparse: Increase seed slightly.
- Too crowded: Reduce seed slightly.
- Tray stays wet: Reduce density modestly, water less often, and improve airflow.
- Uneven germination: Improve seed distribution and make sure the medium was evenly moistened.
Radish Microgreen Light, Water, Temperature, and Airflow
Light
Radish microgreens need bright light after germination. A bright window can work when it provides adequate light, while a grow light can offer more consistent results.
Watch for crop cues. Pale color, stretching, and pronounced leaning can indicate that the tray needs better light exposure.
Water
Aim for moist medium, not saturated roots or persistently wet foliage. Bottom watering is often a practical choice once seedlings have established.
Overwatering can contribute to root rot and damping-off problems. Let the crop use some moisture before adding more water if the medium is still wet. Iowa State University Extension
Temperature
Temperature affects germination speed and how quickly radish microgreens reach harvest size. Instead of treating one indoor temperature as mandatory, monitor the crop’s progress and adjust your expectations accordingly.
Airflow
Gentle circulation helps manage humidity, especially if you are growing multiple trays indoors or notice that the medium dries slowly. Good airflow works best alongside appropriate seed density and careful watering.
When to Harvest Radish Microgreens
Harvest when:
- Cotyledons are fully open.
- Stems are tall enough for a clean cut.
- The crop has the flavor, color, and size you prefer.
For a clean harvest:
- Wash your hands.
- Clean your scissors or knife.
- Lift a small section of greens upright.
- Cut just above the growing medium.
- Avoid pulling plants out by the roots.
Microgreens are generally harvested above the substrate, unlike sprouts, which are commonly consumed whole at an earlier stage. FDA
Common Radish Microgreen Problems
White Fuzz: Root Hairs or Mold?
Fine white fuzz attached closely to roots may be root hairs. Root hairs are often concentrated at the root zone and can become more noticeable after watering.
Growth that spreads across the surface in a web-like pattern deserves closer attention, especially if it occurs with sour odors, slimy stems, or collapsing seedlings. These signs do not identify a specific cause on their own, but they are reasons to inspect the crop carefully. Idaho State University
If a tray has widespread collapse, foul odors, or obvious spreading growth, do not eat it. Discard the crop and thoroughly clean the growing equipment before starting again.
Uneven Germination
Review these common factors:
- Was seed spread evenly?
- Was the medium evenly moist before sowing?
- Did some seeds have poor contact with the medium?
- Was the tray covered during germination?
- Did parts of the tray dry out faster than others?
Change one factor at a time on the next attempt so you can identify what improves the result.
Thin, Leaning, or Pale Seedlings
Weak-looking seedlings can be associated with limited light or overly dense sowing. Move the tray to brighter conditions, consider a suitable grow light, and reassess whether the seed layer is too crowded.
Adding more water is unlikely to solve a light-related problem.
Crop Staying Too Wet
If the tray remains wet for long periods, review:
- Whether the medium is saturated
- Whether seed was sown too densely
- Whether the cover remained on too long
- Whether ventilation is limited
- Whether the tray needs gentler air circulation
Correcting excess moisture is often more useful than adding products or changing several growing variables at once.
Seed Hulls Stuck to Cotyledons
Some seedlings retain their seed hulls briefly after emerging. Give the crop time under light and maintain consistent moisture. Avoid forcefully pulling hulls from delicate seedlings, since this can tear or damage the cotyledons.
Food Safety and Storage
Radish microgreens are raw produce and should be handled carefully from sowing through serving.
Use these practical precautions:
- Wash hands before handling seeds, trays, and harvested greens.
- Clean trays, scissors, knives, work surfaces, and watering equipment.
- Use potable water.
- Use fresh, appropriate growing medium.
- Avoid raw manure and poorly controlled compost inputs.
- Keep the growing area and harvested greens away from raw meat, poultry, seafood, eggs, and their drips.
- Refrigerate harvested microgreens promptly. FDA
FDA consumer guidance recommends washing home-grown produce under running water before eating. Washing may reduce surface bacteria, but it is not a kill step and cannot eliminate all microbes. Do not use soap, detergent, or commercial produce washes on microgreens. FDA
Microgreens are delicate, and farm-focused Extension guidance notes that post-harvest washing can damage tissue or introduce contamination if water and equipment are not clean. The most useful approach is to prioritize clean growing conditions from the start, harvest with clean tools, and—if rinsing—use safe running water and clean food-contact surfaces shortly before eating. University of Nevada, Reno Extension
Store harvested greens refrigerated in a clean container or bag. Because home refrigeration, packaging, and handling vary, there is no universal storage-life estimate. Discard greens that show spoilage, off odors, or deterioration, but remember that appearance and smell cannot confirm the absence of harmful microbes.
FAQ
Research & Further Reading
Government and University Sources
- U.S. Food and Drug Administration — Selecting and Serving Produce Safely
- U.S. Food and Drug Administration — Guidance for Industry: Standards for the Growing, Harvesting, Packing, and Holding of Sprouts for Human Consumption
- University of Florida IFAS Gardening Solutions — Microgreens
- Idaho State University — Growing Microgreens Instructions
- Iowa State University Extension — How to Grow Your Own Microgreens
- University of Maryland Extension — Growing Microgreens and Baby Greens Indoors
- Penn State Extension — A Step-By-Step Guide for Growing Microgreens at Home
- University of Nevada, Reno Extension — Microgreens and Produce Safety
Peer-Reviewed Research
- Ntsoane et al. — The Phytonutrient Content and Yield of Brassica Microgreens Grown in Soilless Media with Different Seed Densities
- Mlinarić et al. — Continuous LED Lighting Enhances Yield and Nutritional Value of Four Genotypes of Brassicaceae Microgreens
- Wang et al. — Optimization of Light Spectrum and Intensity to Enhance Growth and Metabolite Profiles in Green and Purple Radish Microgreens Cultivated in a Vertical Farming System
Andi’s Way Company/Product Information — not scientific evidence
- Andi’s Way — Organic Radish Microgreen Seed
- Andi’s Way — Growing Trays — 10×20 Flats With or Without Drain Holes
Related guides
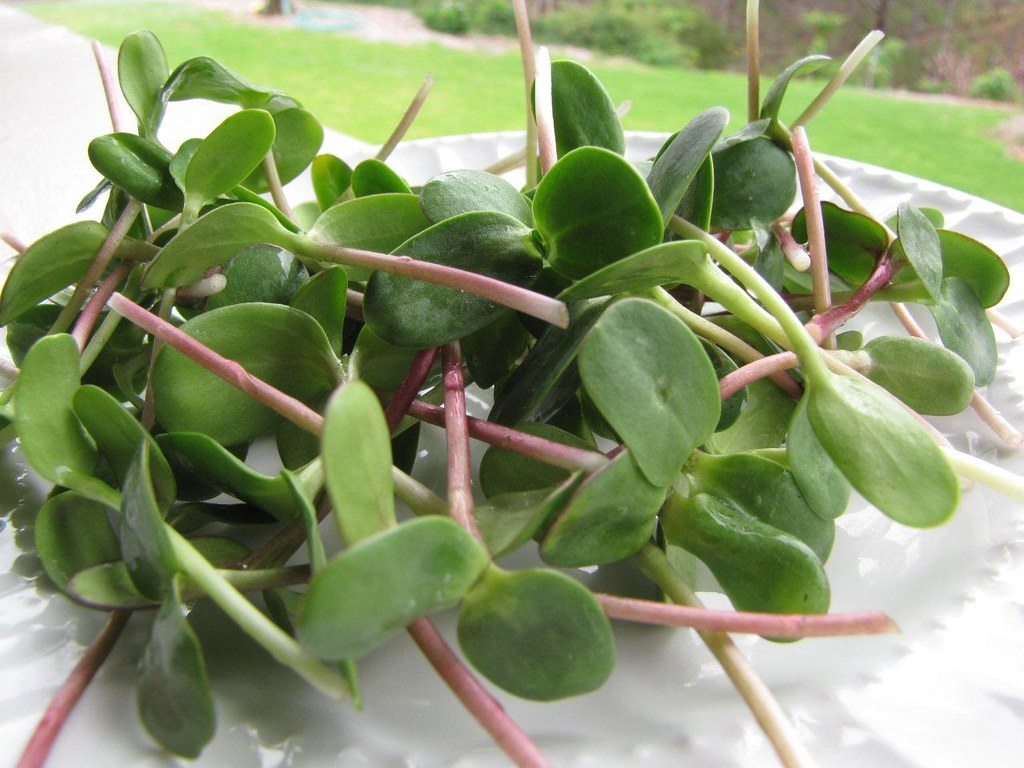
Sunflower Sprouts vs. Sunflower Microgreens: What’s the Difference?
Learn how sunflower sprouts and sunflower microgreens differ in growth stage, harvest method, texture, uses, and raw-food safety considerations.
13 min read
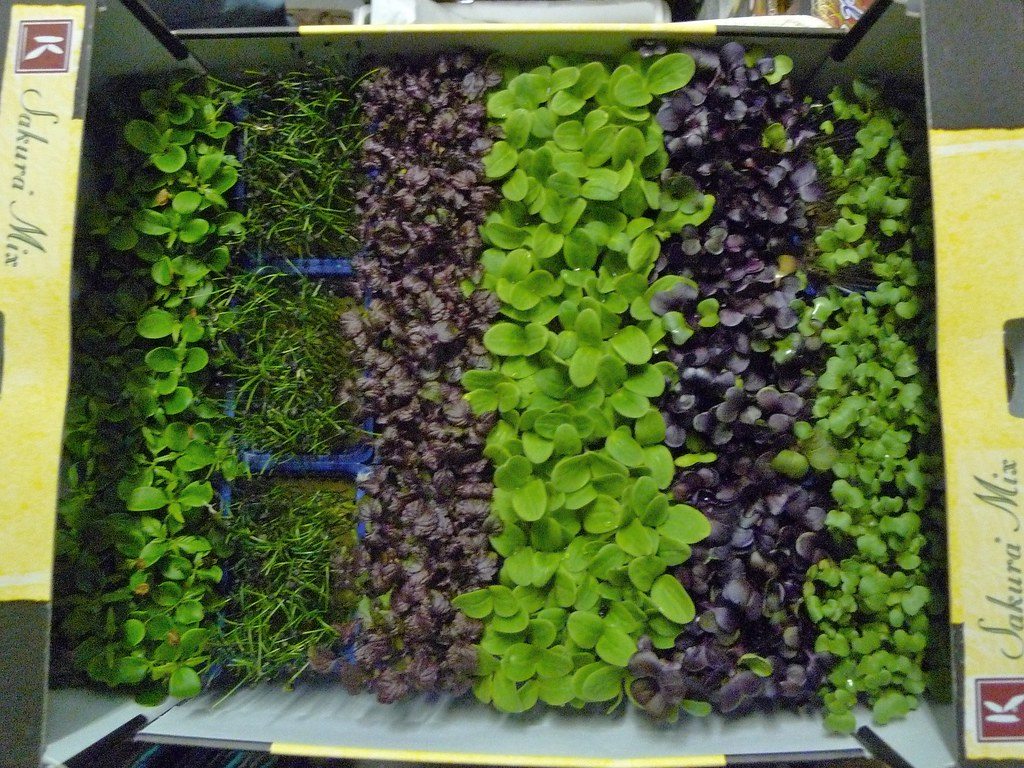
Best Microgreens for Beginners: Radish, Broccoli, Pea, or Sunflower?
Compare radish, broccoli, pea, and sunflower microgreens by seed prep, harvest time, flavor, and beginner-friendliness to choose your first tray.
10 min read
Speckled Pea Seeds for Microgreens: Why Growers Use Them
Learn why growers use speckled pea seeds for pea shoots and microgreens, what to check before buying, and why seed quality matters more than the label alone.
13 min read
Stay in the loop
New guides, when they publish
An occasional email when a new guide goes live. No spam.
Your email is stored privately for future guide updates. No emails are being sent yet. Privacy policy