Microgreens · Basics
Best Microgreens for Beginners: Radish, Broccoli, Pea, or Sunflower?
For many first-time growers, radish is a practical first microgreen to try. In Utah State University Extension’s home-growing guidance, radish does not need a presoak, has a short covered germination period, and is typically harvested in about 8 to 12 days. Its main tradeoff is flavor: radish microgreens are generally nutty and spicy. Utah State University Extension
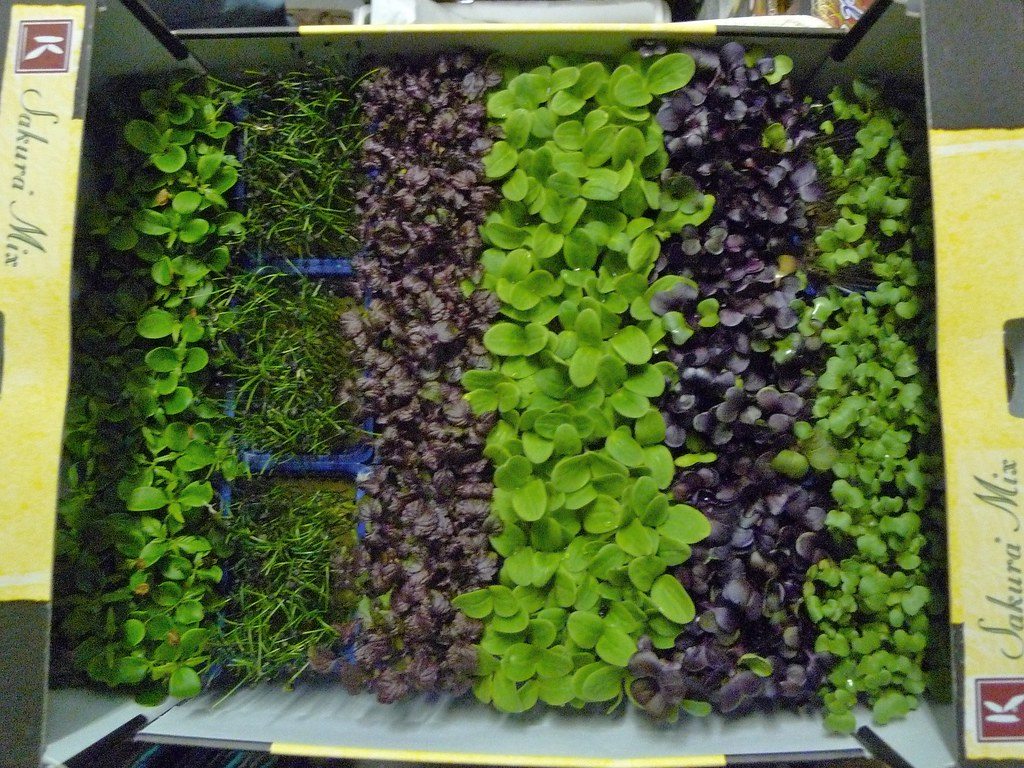
If a peppery flavor is not what you want, choose based on your priorities:
- Choose broccoli for a mild-flavored option with no presoak step.
- Choose pea for sweet, larger shoots if you do not mind soaking the seeds first.
- Choose sunflower for larger, nutty-sweet greens if you are comfortable with a more hands-on start.
This is a practical selection guide, not a scientific difficulty ranking. The recommendations below are based on seed preparation, covered germination time, approximate harvest timing, flavor, and handling differences.
Quick Comparison: Which Beginner Microgreen Should You Choose?
| Crop | Choose it for | Presoak | Covered germination period | Approximate harvest window* | General flavor |
|---|---|---|---|---|---|
| Radish | A low-prep first tray and a peppery flavor | None | About 1–2 days | About 8–12 days | Nutty, spicy |
| Broccoli | Mild flavor with simple handling | None | About 2–4 days | About 8–12 days | Mild |
| Pea | Sweet, larger shoots | About 6 hours | About 3 days | About 8–10 days | Sweet |
| Sunflower | Larger greens with a nutty-sweet flavor | About 12 hours | About 3 days | About 9–10 days | Nutty, sweet |
\*Harvest timing is an estimate, not a guarantee. Cultivar, room temperature, light, seed density, growing medium, and the stage at which you prefer to harvest can all affect the schedule.
The preparation, covered-time, harvest, and flavor details in this table come from Utah State University Extension’s general home microgreen guidance. Penn State Extension also notes that larger-seeded crops such as pea and sunflower can benefit from weight during germination; for sunflower, this may help loosen hulls from the developing cotyledons. Utah State University Extension | Penn State Extension
The Best First Choice for Many Beginners: Radish
Radish is a sensible first tray for someone who wants minimal seed preparation. Utah State University Extension lists radish as a no-presoak crop with an estimated harvest window of roughly 8 to 12 days and a covered germination period of about one to two days. Utah State University Extension
That does not mean radish is objectively easier than every other microgreen in every home setup. Pea and sunflower have overlapping harvest windows, for example. But radish combines a simple start with a distinctive flavor, which can make it an appealing crop for learning the basics.
Choose radish if you:
- Want to skip soaking seeds.
- Prefer a short covered germination period.
- Like peppery greens in salads, wraps, sandwiches, grain bowls, or as a garnish.
- Want one straightforward crop to grow in its own tray before trying several varieties.
Consider another crop if you:
- Prefer a mild flavor.
- Want larger shoots for sandwiches or snacking.
- Would rather eat nutty-sweet greens than spicy ones.
Choose Broccoli If You Want a Milder First Microgreen
Broccoli is a strong choice for beginners who want the simple, no-soak handling of radish but prefer a milder flavor. Utah State University Extension lists broccoli as a no-presoak crop with an estimated harvest window of about 8 to 12 days. Utah State University Extension
Broccoli is not necessarily “easier” than radish. Both are relatively low-prep crops in the Extension guidance. The more useful distinction is taste: radish is nutty-spicy, while broccoli is described as mild.
Choose broccoli if you want:
- A no-soak beginner crop.
- Mild-tasting greens.
- A versatile addition to salads, sandwiches, wraps, and other familiar meals.
- An alternative to radish’s stronger peppery bite.
Choose Pea If You Want Sweet, Larger Shoots
Pea is a beginner-suitable option if you want a sweet flavor and a larger shoot than radish or broccoli microgreens. It requires an added preparation step: Utah State University Extension lists an approximately six-hour presoak before sowing. Utah State University Extension
The added soak does not make pea difficult; it simply requires a little more planning. Penn State Extension identifies pea and sunflower as larger-seeded crops that produce larger shoots and need a different sowing approach from smaller-seeded crops. Penn State Extension
Choose pea if you want:
- Sweet-tasting greens.
- Larger shoots for sandwiches, wraps, salads, and snacking.
- A crop that feels more substantial than a small garnish.
- A project that includes soaking seed before planting.
For crop-specific harvest-stage guidance, follow the seed supplier’s instructions or a dedicated pea-shoot growing guide.
Choose Sunflower If You Want Larger, Nutty-Sweet Greens
Sunflower is a good option for beginners who want a larger green with a nutty-sweet flavor. Utah State University Extension lists an approximately 12-hour presoak and an estimated harvest window of about 9 to 10 days. Utah State University Extension
Sunflower involves more initial handling than radish or broccoli. Penn State Extension recommends using weight during germination for larger-seeded crops such as sunflower. In sunflower trays, this practice may also help loosen seed hulls from cotyledons. Penn State Extension
Choose sunflower if you want:
- Larger greens for salads, sandwiches, and wraps.
- A nutty-sweet flavor.
- A crop that is still approachable for a beginner but has a few added preparation steps.
- To learn how soaking and weighted germination differ from a small-seed crop.
Sunflower is not an advanced-only crop. It is simply a better fit for someone who does not mind soaking seeds and paying a little more attention during germination.
A Simple Decision Tree for Your First Tray
Use this shortcut if you are still deciding:
- Want the fewest setup steps? Choose radish.
- Want mild flavor without soaking? Choose broccoli.
- Want sweet, larger shoots? Choose pea.
- Want larger, nutty-sweet greens? Choose sunflower.
- Want the simplest learning experience? Start with one crop in one tray.
There is no universal winner. The best beginner microgreen is the one that fits both your taste preferences and the amount of seed preparation you are comfortable doing.
Can You Grow All Four at Once?
Yes—but grow them in separate trays.
Radish and broccoli do not need presoaking in Utah State University Extension’s general table, while pea and sunflower have different soaking recommendations. The crops also have different covered germination periods and harvest estimates. Utah State University Extension
Pea and sunflower are larger-seeded crops than broccoli and radish, so they should not be treated as though one sowing approach will work equally well for every variety. Penn State Extension
Separate trays make it easier to manage each crop’s needs and observe what works in your growing space. University of Maryland Extension also advises against mixing species with different germination and growth rates in the same container. University of Maryland Extension
Choose Seeds Intended for Edible Microgreen Production
Choose seed labeled for microgreen or other edible growing use, and follow the supplier’s crop-specific directions when they differ from general Extension guidance.
A few practical buying rules can help:
- Do not assume every seed sold for planting is intended for edible indoor production.
- Do not assume an organic label guarantees germination performance or eliminates food-safety concerns.
- Avoid assuming seed sold for a non-food purpose is appropriate for growing edible greens.
- Check the crop name carefully: broccoli, radish, pea, and sunflower have different preparation and germination needs.
Utah State University Extension specifically advises using seed labeled for microgreens. Utah State University Extension
Basic Home Microgreen Food Safety
Microgreens are often eaten raw, so clean growing and handling practices matter. Microgreens are not the same product as sprouts, but both involve food-safety control points related to seeds, water, equipment, growing media, and handling. Riggio et al., Microgreens—A Review of Food Safety Considerations
Keep hands and equipment clean
Wash hands before handling seeds, trays, growing media, and harvested greens. Clean trays, tools, and harvest scissors before use. U.S. Food and Drug Administration
Use drinking-quality water and avoid oversaturation
Use clean, potable-quality water. Keep the growing medium moist rather than saturated, and provide airflow to help discourage plant disease and mold problems. University of Maryland Extension
This matters because experimental research has found that foodborne pathogens can persist on microgreens when contaminated irrigation water is used. That does not mean every home tray is contaminated; it reinforces the value of using clean water and sanitary equipment. Rao, Pradhan, and Patel
Handle harvested greens as perishable produce
Refrigerate harvested microgreens and handle them as you would other fresh, perishable produce. The U.S. Food and Drug Administration recommends washing fresh produce under running water before preparing or eating it. Do not use soap, detergent, bleach, sanitizers, or commercial produce washes on produce. U.S. Food and Drug Administration
Remember that clean practices reduce, not eliminate, risk
Food-safety research on microgreens is still developing. Clean equipment, potable water, appropriate storage, and careful handling can reduce avoidable risks, but no single step makes raw produce completely risk-free. Riggio et al.
Research & Further Reading
Home growing and crop-handling guidance
- Utah State University Extension — Grow Your Own Microgreens
https://extension.usu.edu/yardandgarden/research/grow-your-own-microgreens
- Penn State Extension — A Step-By-Step Guide for Growing Microgreens at Home
https://extension.psu.edu/a-step-by-step-guide-for-growing-microgreens-at-home
- Penn State Extension — The ABCs of Microgreens
https://extension.psu.edu/the-abcs-of-microgreens
- University of Maryland Extension — Growing Microgreens and Baby Greens Indoors
https://extension.umd.edu/resource/growing-microgreens-and-baby-greens-indoors
Food safety
- Riggio GM, Wang Q, Kniel KE, Gibson KE. Microgreens—A Review of Food Safety Considerations Along the Farm to Fork Continuum.
https://pubmed.ncbi.nlm.nih.gov/30308448/
- Rao AP, Pradhan AK, Patel J. Persistence of Foodborne Bacterial Pathogens on Microgreens and Soil Irrigated With Contaminated Water.
https://pubmed.ncbi.nlm.nih.gov/40774541/
- U.S. Food and Drug Administration — Selecting and Serving Produce Safely
https://www.fda.gov/food/buy-store-serve-safe-food/selecting-and-serving-produce-safely
Company product information only — not scientific evidence
- Andi’s Way — Organic Sprouting Seeds
https://andisway.com/collections/organic-sprouting-seeds
- Andi’s Way — Fresh Organic Microgreens
https://andisway.com/collections/microgreens
Frequently asked questions
Related guides
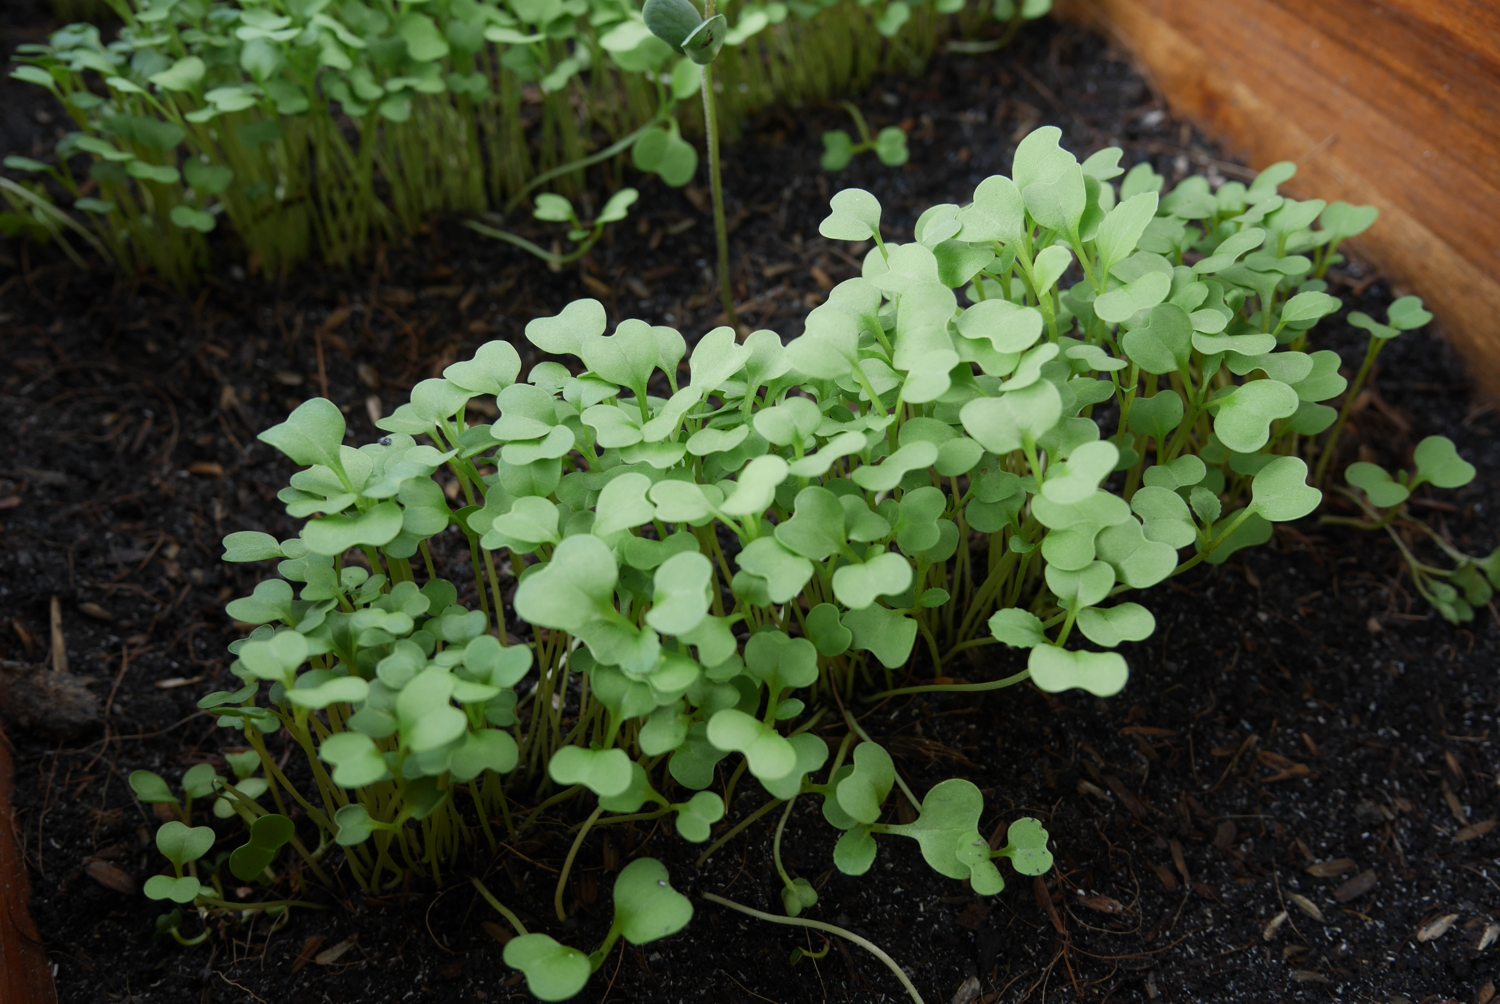
Microgreens vs. Sprouts: What’s the Difference?
Microgreens and sprouts differ in growth stage, harvest, food safety, flavor, and use. Learn which fits your kitchen or growing setup.
13 min read
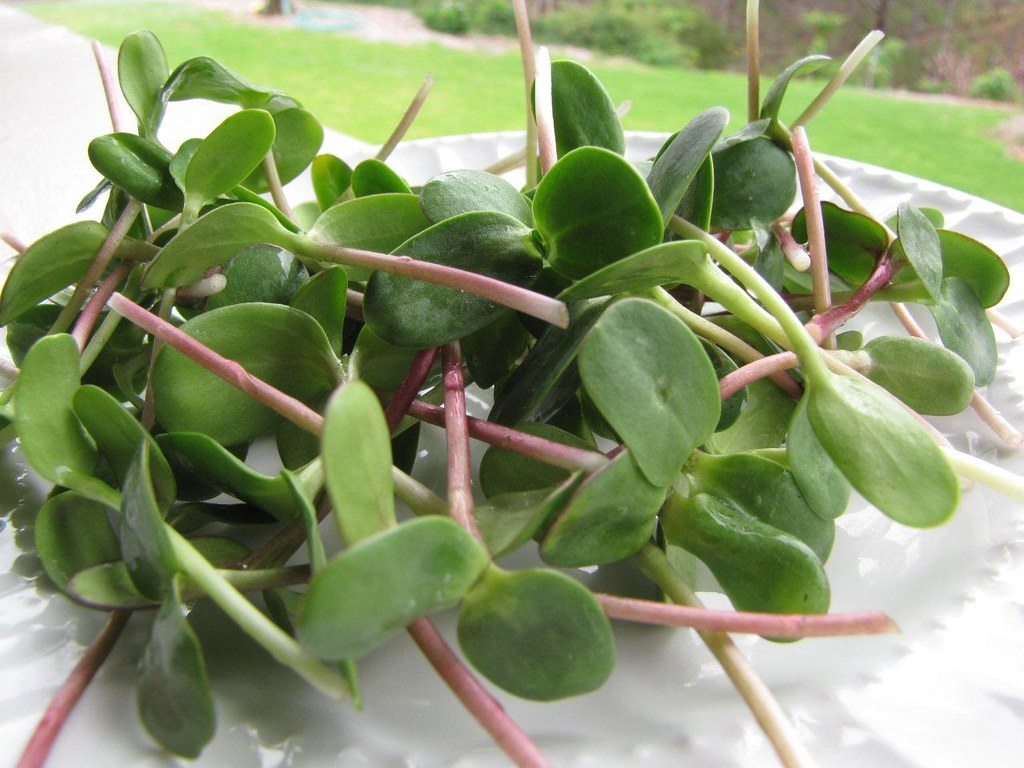
Sunflower Sprouts vs. Sunflower Microgreens: What’s the Difference?
Learn how sunflower sprouts and sunflower microgreens differ in growth stage, harvest method, texture, uses, and raw-food safety considerations.
13 min read
Speckled Pea Seeds for Microgreens: Why Growers Use Them
Learn why growers use speckled pea seeds for pea shoots and microgreens, what to check before buying, and why seed quality matters more than the label alone.
13 min read
Stay in the loop
New guides, when they publish
An occasional email when a new guide goes live. No spam.
Your email is stored privately for future guide updates. No emails are being sent yet. Privacy policy