Growing & Seeds · Pea Shoots
How to Grow Pea Shoots and Pea Microgreens at Home
To grow pea shoots at home, start with edible, untreated pea seeds. Soak them overnight, sow the drained peas in a nearly single layer over moist growing medium, and cover the tray for early germination. Once shoots emerge, uncover them, provide bright window light or a grow light, and keep the medium evenly moist rather than waterlogged. Harvest the shoots above the growing medium with clean scissors when they are leafy, tender, and at the height you prefer. <a href="https://s3.amazonaws.com/assets.cce.cornell.edu/attachments/51122/How_to_Grow_Pea_Shoots-2.pdf?1621002078=" target="_blank" rel="noopener noreferrer">Cornell Cooperative Extension</a> <a href="https://extension.umd.edu/resource/growing-microgreens-and-baby-greens-indoors" target="_blank" rel="noopener noreferrer">University of Maryland Extension</a> <a href="https://extension.psu.edu/a-step-by-step-guide-for-growing-microgreens-at-home" target="_blank" rel="noopener noreferrer">Penn State Extension</a>
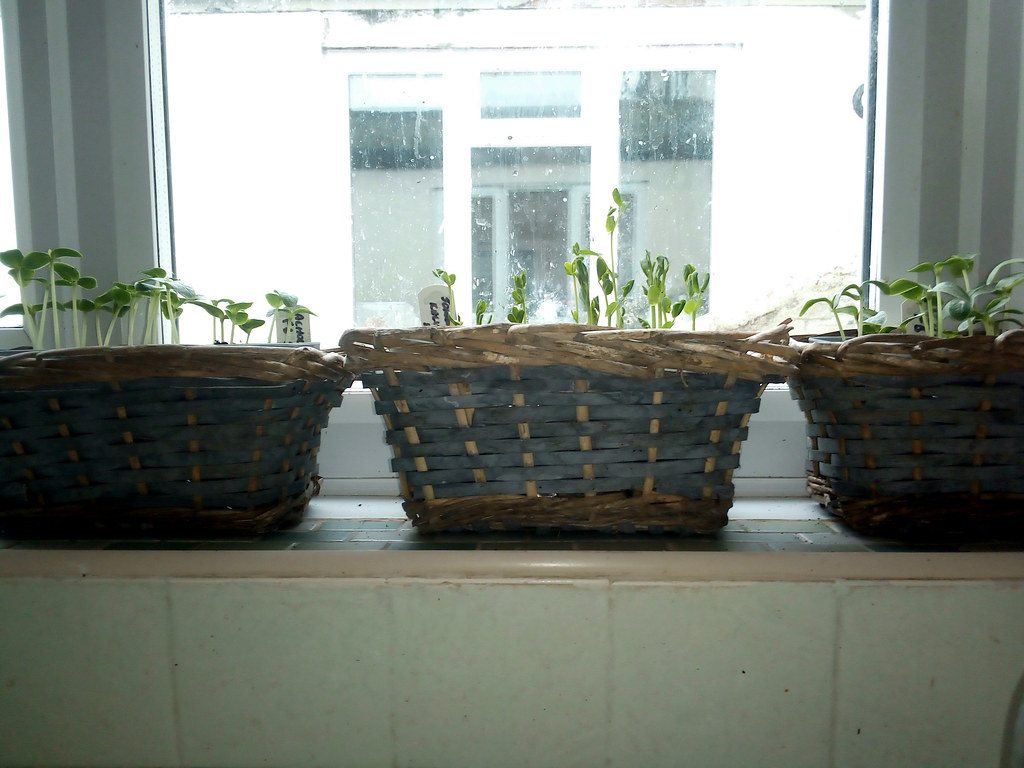
A Cornell Cooperative Extension pea-shoot protocol reaches about 4 inches in roughly 10–14 days, but that is a useful reference—not a promise. Seed variety, temperature, light, moisture, and other home conditions affect growth speed. Cornell Cooperative Extension
Pea Shoots vs. Pea Microgreens: What This Guide Covers
In everyday home-growing guides, pea shoots and pea microgreens are often discussed together. This guide covers tray-grown pea seedlings raised in a moist growing medium and cut above that medium for eating.
Pea shoots are often harvested taller than many other microgreens. Rather than focusing on a strict terminology debate, focus on the practical goal: growing a tender first crop of tray-grown pea greens.
How They Differ From Jar-Grown Sprouts
These instructions are not for jar-grown sprouts.
Sprouts are generally germinated with water and harvested at an earlier stage, often with the seed and root attached. Tray-grown microgreens and pea shoots are grown in a substrate and harvested above the growing medium. The crops have different production methods and food-safety considerations. U.S. Food and Drug Administration University of New Hampshire Extension
What You Need to Grow Pea Shoots Indoors
A simple setup is enough for a first tray.
| Supply | Why it matters |
|---|---|
| Edible, untreated pea seeds | Use seeds intended for edible sprouting, microgreens, or food growing. |
| Clean tray with drainage holes | Allows excess water to leave the growing medium. |
| Solid catch tray | Holds the drained tray and makes bottom watering easier. |
| Growing medium | Holds moisture and supports roots during the short growing cycle. |
| Potable water | Use clean drinking-quality water for soaking and watering. |
| Cover | Useful during early germination. |
| Bright window or grow light | Needed after shoots emerge. |
| Clean scissors or knife | Used to harvest shoots above the medium. |
Choose Edible, Untreated Pea Seeds
Choose pea seed sold for edible sprouting, microgreens, or food growing. Speckled peas are a commonly used large-seeded option for pea shoots, but they are not the only suitable choice.
Do not use seed that may have been treated with fungicides or pesticides. Seed sold for ornamental, field, feed, or other non-food uses is not automatically appropriate for an edible crop. Colorado State University Extension
Use a Drained Tray and a Catch Tray
Use a clean, shallow tray with drainage holes. Put it inside a solid tray that can catch runoff and hold water for bottom watering later in the crop cycle.
This arrangement makes it easier to provide moisture without leaving the growing medium saturated. Penn State Extension University of Maryland Extension
Choose a Simple Growing Medium
Use a clean growing medium suitable for edible microgreens. It should retain enough moisture for germination while still allowing excess water to drain.
For a short, first-harvest crop, pea shoots generally do not need routine fertilizer. Young seedlings can draw on nutrients stored in the seed during early growth. That does not necessarily apply to longer growing cycles or attempted second harvests. University of Maryland Extension Purdue Extension
Step 1: Soak the Pea Seeds
Soak Overnight as a Practical Starting Point
Peas are large, hard seeds. Soaking before sowing can help germination begin more quickly and evenly.
A practical starting point is an overnight soak of about 8 to 12 hours. This is a flexible guideline, not a requirement that applies identically to every pea variety or growing setup. University of Maryland Extension recommends 6–12 hours for peas, while Cornell’s pea-shoot protocol uses a broader 8–24-hour range. University of Maryland Extension Cornell Cooperative Extension
- Put dry pea seeds in a clean bowl or container.
- Add enough potable water to cover them comfortably.
- Soak for roughly 8–12 hours.
- Drain thoroughly before sowing.
Drain Thoroughly Before Sowing
Soaked peas take up more space than dry peas. Drain off standing water before placing them in the tray. The seeds should be hydrated but not sitting in water.
Soaking can support more even germination, but it does not guarantee that every seed will sprout. Seed quality, moisture, temperature, and growing conditions still matter.
Step 2: Prepare the Tray and Growing Medium
Begin with clean trays, clean hands, and clean tools.
- Fill the drained growing tray with a shallow, even layer of growing medium.
- Moisten the medium before sowing. It should be evenly damp, not muddy or saturated.
- Place the drained tray inside the solid catch tray.
Do not leave the tray continuously sitting in water. The lower tray should catch drainage and support occasional bottom watering—not create a permanently waterlogged root zone. Penn State Extension
Step 3: Sow Pea Seeds at the Right Density
Start With a Nearly Single Layer
Spread the drained peas over the moist medium in a nearly single layer. The peas can lightly touch, but they should not be piled or stacked on one another.
This visual standard is more useful for most beginners than a fixed seed-weight formula. Cornell’s pea-shoot guidance uses the same practical approach: peas should be close together but not stacked. Cornell Cooperative Extension
Why There Is No Universal Grams-Per-Tray Rule
A single seed-weight recommendation does not translate reliably to every home setup. Pea size, cultivar, tray dimensions, medium depth, temperature, lighting, and watering practices can all affect how densely a tray performs.
Research shows that seed density can influence microgreen growth and biomass under controlled conditions. However, those results do not establish one ideal planting rate for every home tray. Begin with peas barely touching, then adjust after observing your own results. Microgreens: Optimising Seed Density and Exploring the Influence of White Light and White Light Supplemented with UV-A Radiation
Adjust Density After Your First Tray
Use the first tray as a small test crop.
- If the tray stays excessively wet, germinates unevenly, or becomes crowded as shoots grow, sow a little less densely next time.
- If the tray has wide, persistent gaps, consider sowing modestly more seed next time.
- If only small sections perform poorly, check for uneven moisture, uneven coverage, or seed-quality issues before blaming density alone.
Step 4: Cover the Tray for Early Germination
Cover the tray during early germination. A cover helps maintain a protected environment while the peas begin to sprout.
A simple cover is enough for this beginner workflow. Weighting the tray is not universally required, although it is used in some microgreen-growing methods to help seeds maintain contact with the medium. Penn State Extension includes weighting as an option for pea and sunflower crops, while Cornell’s pea-shoot protocol uses covering without treating weight as essential. Penn State Extension Cornell Cooperative Extension
Check Moisture Without Flooding the Tray
Check the tray during germination. The medium should remain moist, but it should not be saturated or surrounded by standing water.
If the surface is drying, add water carefully. If the tray is very wet, let excess water drain and reassess how much water is being added.
Uncover Once Shoots Emerge
Remove the cover after shoots have emerged and are ready for light. Use emergence rather than a rigid calendar day as your cue, since timing varies with temperature, seed lot, and other conditions. Oregon State University Extension
Move the tray to a bright window or under supplemental lighting once uncovered.
Step 5: Give the Shoots Light and Manage Moisture
Bright Window vs. Grow Light
After emergence, pea shoots can grow in a bright window or under a grow light.
A bright window can work for a home crop, especially where daylight is strong. Supplemental lighting can be useful when window light is limited or inconsistent. The two options may produce different growth speed and uniformity, so observe the crop rather than expecting identical results. Cornell Cooperative Extension Oregon State University Extension
Bottom Water When Practical
Once roots are established, bottom watering is often a practical way to keep the medium moist while leaving foliage and the surface of the medium less wet.
- Add a modest amount of water to the solid catch tray.
- Let the growing tray draw up water through its drainage holes.
- Remove any water that remains after the medium has taken up what it needs.
Bottom watering is useful but not the only acceptable method. The priority is even moisture without waterlogging. Penn State Extension University of Illinois Extension
Support Airflow and Avoid Persistent Wetness
Good drainage, reasonable airflow, and avoiding continuously wet surfaces can help reduce conditions that favor mold and rot. These practices do not guarantee a mold-free crop, but they make excessive moisture less likely to become a recurring problem. University of Maryland Extension University of Illinois Extension
Avoid crowding multiple damp trays tightly together in a stagnant location.
Step 6: Troubleshoot Common Pea-Shoot Problems
Uneven or Sparse Germination
If some peas grow well while others do not, review the basics:
- Were the peas soaked and drained adequately?
- Was the medium evenly moist?
- Were peas piled or concentrated in some areas?
- Was the tray covered during early germination?
- Was the seed intended for edible growing and in good condition?
Make one adjustment at a time on the next tray. This makes it easier to identify which change improved the result.
Yellow or Pale Shoots
After emergence, pale shoots are a reason to review the growing conditions rather than diagnose one cause. Check whether the tray was uncovered promptly and whether it is receiving sufficient light. Move the crop to a brighter location or consider supplemental lighting if the available window light appears limited. Cornell Cooperative Extension Oregon State University Extension
Leaning or Weak-Looking Shoots
If shoots lean heavily, appear weak, or collapse, reassess the growing conditions rather than assuming there is one cause. Review light exposure after emergence, whether the tray was sown too densely, and whether the growing medium remains excessively wet. Cornell Cooperative Extension University of Maryland Extension University of Illinois Extension
Mold, Rot, or Suspicious White Fuzz
Do not assume every fuzzy white growth is automatically mold—or automatically harmless root hair. Remote or quick visual identification is not always reliable.
If a tray smells unpleasant, shows obvious rot, has spreading suspicious growth, or otherwise appears questionable, do not eat it. Discard the crop and clean the tray before starting again.
For future trays, return to the basic preventive practices:
- Use clean trays, hands, and cutting tools.
- Use potable water.
- Do not stack peas at sowing.
- Keep the medium moist rather than saturated.
- Let excess water drain.
- Provide reasonable airflow after germination.
Step 7: Harvest Your First Crop
Use Plant Stage Rather Than a Fixed Day Count
Harvest when the shoots are tender, leafy, and at the height you prefer.
Cornell’s pea-shoot protocol provides a reference point of approximately 4 inches in 10–14 days. Your tray may grow faster or more slowly, so the plants themselves are the better harvest signal. Cornell Cooperative Extension
Cut Above the Growing Medium
Use clean scissors or a clean knife to cut the shoots above the growing medium. Keep the harvested greens separate from roots and growing medium. University of Maryland Extension
You can harvest the entire tray at once or cut only what you plan to use, depending on your preference and the crop’s condition.
Handle Harvested Shoots Like Fresh Produce
Tray-grown pea shoots are fresh produce, not a risk-free food. Use clean containers and tools, avoid unnecessary handling, and do not eat crops that appear spoiled or questionable.
Sprouts have a well-established food-safety history because of their particular production conditions. Tray-grown pea shoots are grown and harvested differently, but clean growing and handling practices remain important. U.S. Food and Drug Administration Turner, Luo, and Buchanan
Can Pea Shoots Regrow After Harvest?
Some pea-shoot growing guides describe harvesting more than once from pea plants. However, evidence and guidance specific to dense, indoor tray-grown pea shoots are limited, and a reliable second cut should not be assumed.
Treat regrowth as a possible experiment rather than an expected outcome. This guide is intentionally focused on producing a successful first harvest.
Frequently asked questions
Research & Further Reading
Horticultural and Food-Safety Sources
- Cornell Cooperative Extension, How to Grow Pea Shoots
- University of Maryland Extension, Growing Microgreens and Baby Greens Indoors
- Oregon State University Extension, Microgreens
- Penn State Extension, A Step-by-Step Guide for Growing Microgreens at Home
- Purdue Extension, Grow Microgreens at Home
- University of Illinois Extension, Growing Microgreens
- Colorado State University Extension, Growing Microgreens
- U.S. Food and Drug Administration, Guidance for Industry: Standards for the Growing, Harvesting, Packing, and Holding of Sprouts for Human Consumption
https://www.fda.gov/media/102430/download Note: This is sprout-specific guidance, included here for terminology and food-safety context rather than as a home pea-shoot production manual.
- University of New Hampshire Extension, Sprouts or Microgreens: Where Does Your Farm Fall Under FSMA?
- Turner ER, Luo Y, Buchanan RL. Microgreen Nutrition, Food Safety, and Shelf Life: A Review.
- Microgreens: Optimising Seed Density and Exploring the Influence of White Light and White Light Supplemented with UV-A Radiation.
- Royal Horticultural Society, Grow It: Pea Shoots
https://www.rhs.org.uk/education-learning/children-young-people/family-activities/grow-it/pea-shoots Note: This broader gardening resource may be useful for general pea-shoot context. It is not direct evidence that dense indoor tray-grown pea shoots will produce a dependable second harvest.
Company/Product Information — not scientific evidence
- Andi’s Way, Organic Pea Seeds for Microgreens & Pea Shoots
- Andi’s Way, Growing Trays With or Without Drain Holes
Related guides
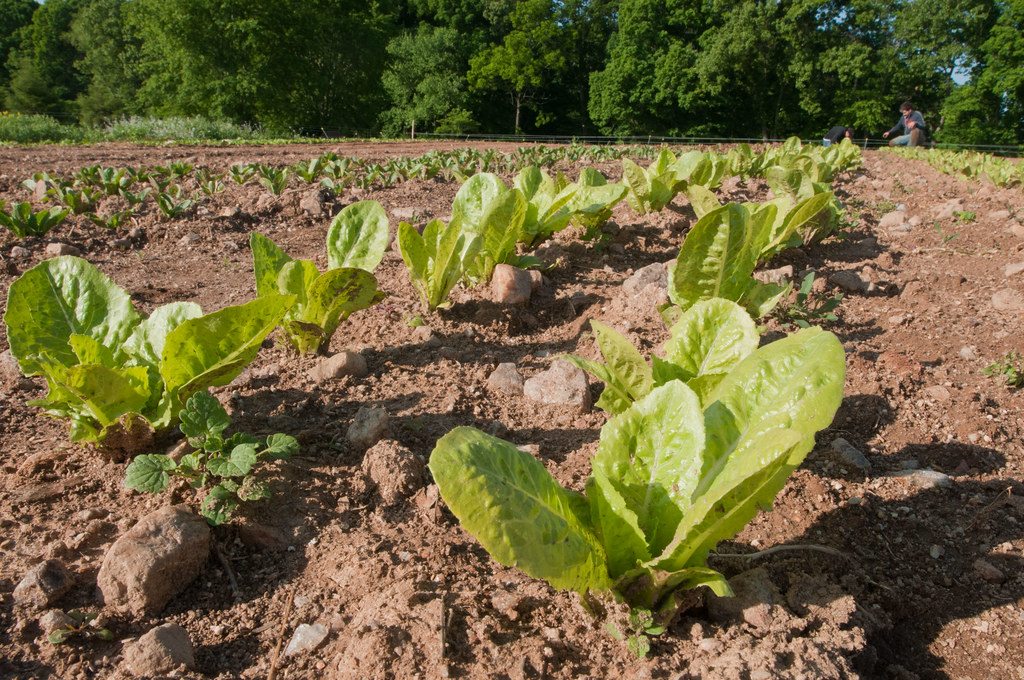
Speckled Pea Seeds for Microgreens: Why Growers Use Them
Learn why growers use speckled pea seeds for pea shoots and microgreens, what to check before buying, and why seed quality matters more than the label alone.
13 min read
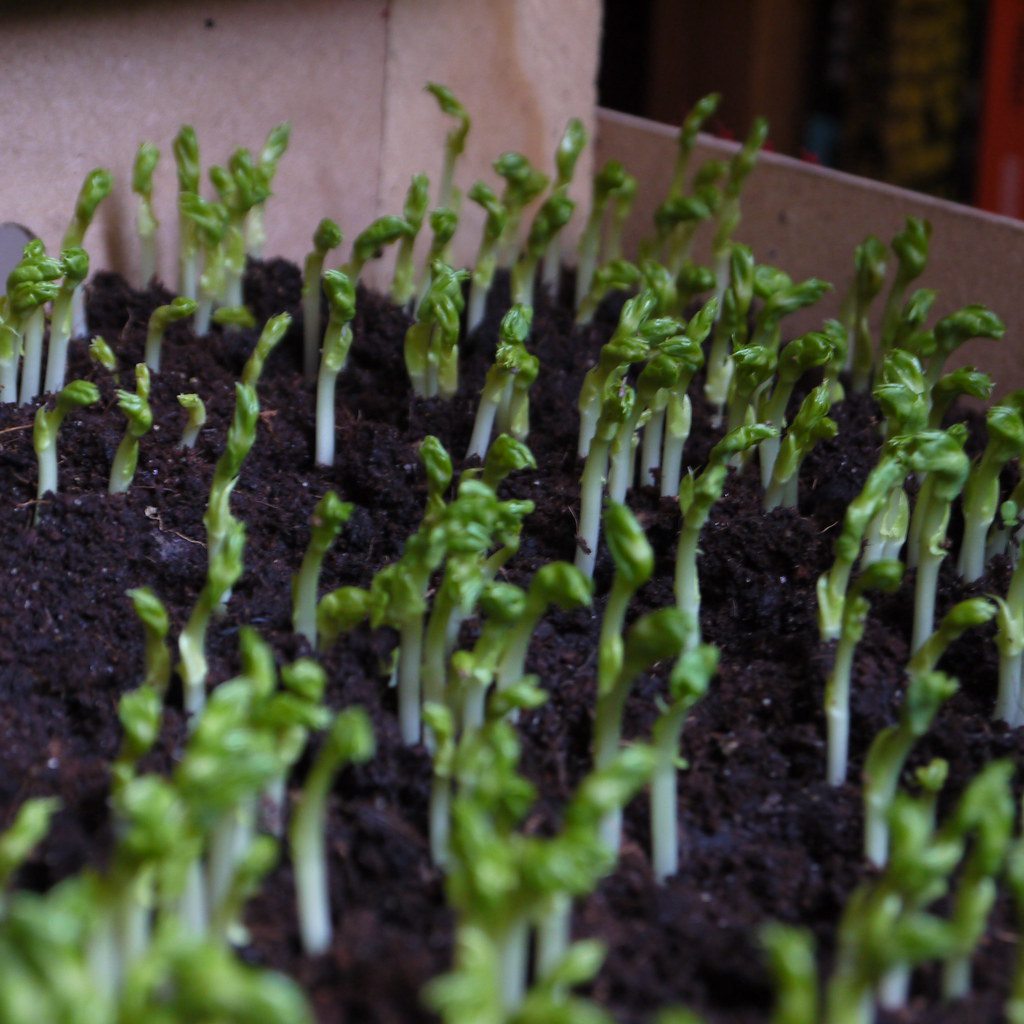
Do Pea Shoots Regrow After Cutting?
Pea shoots can regrow after cutting if you leave a healthy leaf node below the cut. Learn where to cut, what to expect from a second harvest, and when to reseed.
11 min read
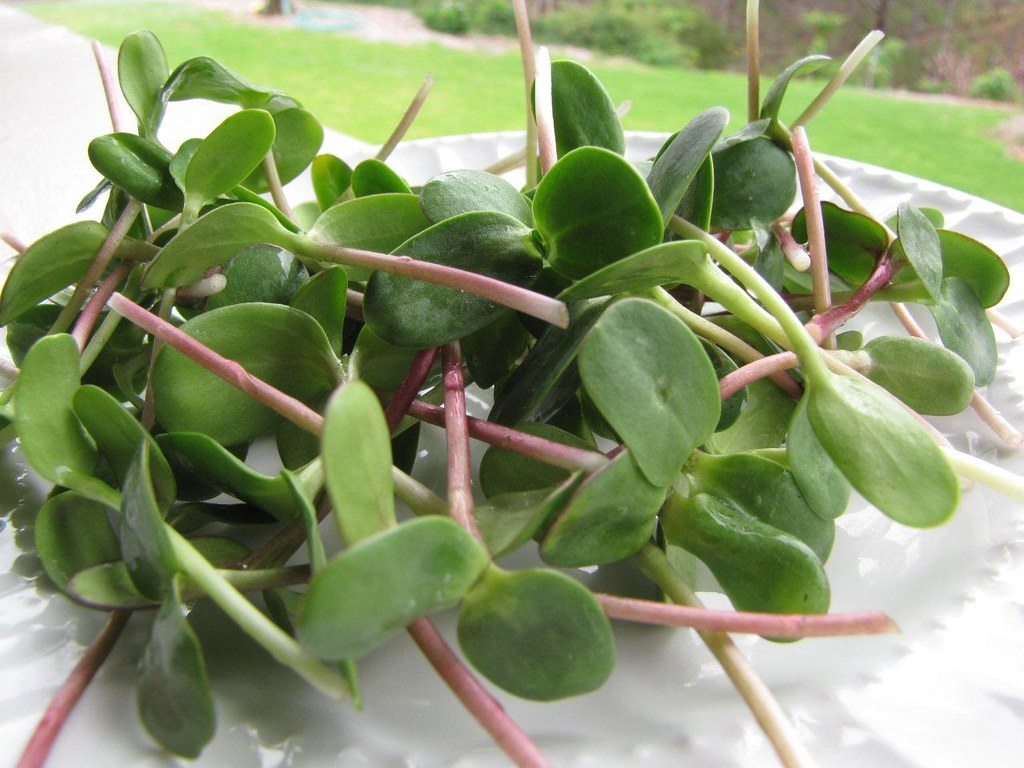
Sunflower Sprouts vs. Sunflower Microgreens: What’s the Difference?
Learn how sunflower sprouts and sunflower microgreens differ in growth stage, harvest method, texture, uses, and raw-food safety considerations.
13 min read
Stay in the loop
New guides, when they publish
An occasional email when a new guide goes live. No spam.
Your email is stored privately for future guide updates. No emails are being sent yet. Privacy policy