Food Safety · Growing
How to Clean and Sanitize Microgreen Trays Between Crops
Clean reusable microgreen trays after every crop cycle, then sanitize them before reuse. A dependable tray-reset routine is:
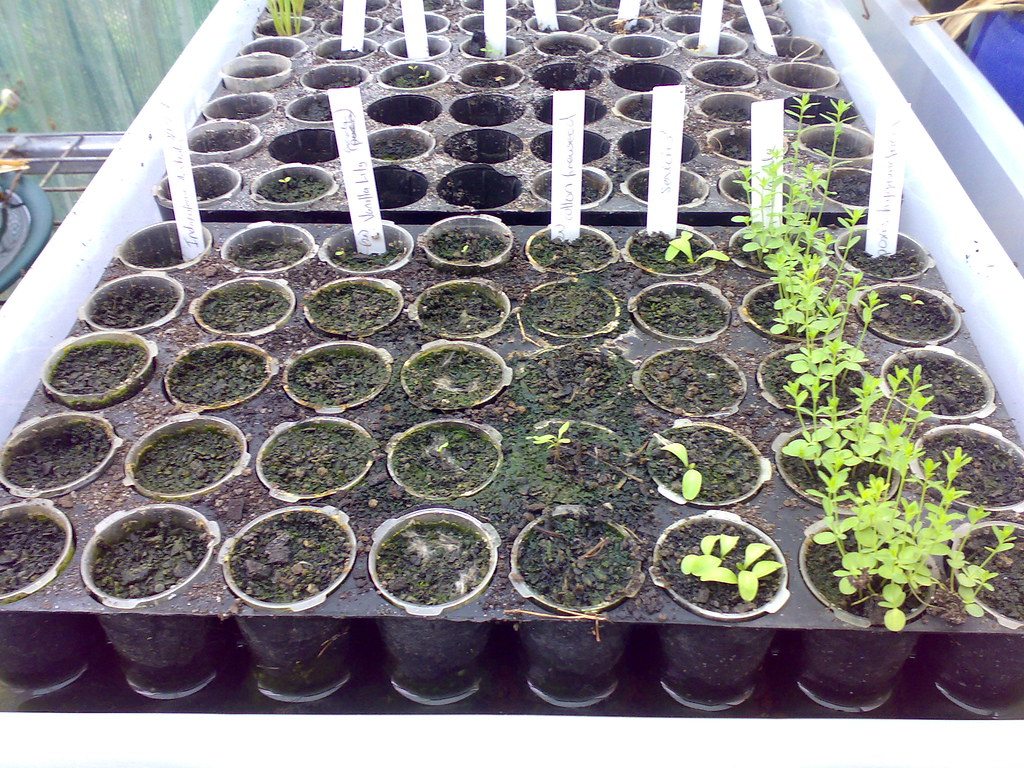
- Remove roots, growing media, seed hulls, and debris.
- Rinse both sides of the tray.
- Wash and scrub with detergent and water.
- Rinse with clean potable water.
- Inspect the tray until it is clean to sight and touch.
- Sanitize according to the individual product label.
- Drain and air-dry before stacking, storing, or reusing.
Washing is necessary, but it is not the same as sanitizing. Visible soil, plant material, and residue can interfere with sanitizer performance, so sanitizing should happen only after the tray has been thoroughly cleaned. University of Minnesota Extension
This guide covers reusable 1020 trays, drain trays, solid bottom trays, covers, weights, and similar reusable growing equipment. It does not cover seed treatment, water-system cleaning, microbial testing, or diagnosing mold in a crop.
Why Clean Reusable Microgreen Trays Between Crops?
Used trays can retain roots, growing media, seed hulls, mineral residue, and moisture—especially around rims, corners, undersides, drainage holes, and surfaces where trays nest together.
A consistent cleaning and sanitation routine helps reduce the chance that residue from one crop carries into the next. Microgreen-production guidance identifies cleaning and sanitizing reusable equipment between crop cycles as an important production-hygiene practice. Virginia Cooperative Extension
Still, tray hygiene is only one part of safer microgreen production. Seeds, growing media, water, tools, harvesting practices, storage, and hand hygiene also matter. A properly cleaned and sanitized tray can reduce equipment-hygiene risks, but it cannot guarantee a safe crop or prevent every mold problem.
Cleaning vs. Sanitizing vs. Disinfecting
These terms are often used as though they mean the same thing. They do not.
| Term | What it means | Role in a tray-reset routine |
|---|---|---|
| Cleaning | Physically removing roots, media, seed hulls, residue, and other soil with water, detergent, and scrubbing | Essential first step |
| Sanitizing | Using a product according to its label to reduce microorganisms on a cleaned surface | Routine sanitation step after cleaning |
| Disinfecting | A separate product claim with its own directions, uses, and contact times | Not a synonym for routine tray washing |
| Sterilizing | Achieving a much higher level of microbial control | Usually not the practical goal for reusable growing trays |
The U.S. Environmental Protection Agency distinguishes between cleaning, sanitizing, and disinfecting based on what a product is intended to do and how it is used. EPA
Cleaning Removes Soil and Crop Residue
Cleaning is the physical work of removing debris from the tray. This includes spent roots, growing media, seed hulls, mineral film, and buildup around drain holes or tray rims.
A quick rinse may remove loose material, but it is not a complete cleaning step. The FDA Food Code uses the standard “clean to sight and touch” for food-contact surfaces. While the Food Code is a model for retail and food-service settings rather than a microgreen-tray regulation, it is a useful practical inspection benchmark. FDA Food Code
Pay particular attention to:
- Drain holes
- Corners and tray rims
- Undersides
- Raised channels or textured surfaces
- Stacking and nesting surfaces
- Solid bottom trays used beneath drain trays
- Covers, weights, harvesting containers, and reusable tools
Sanitizing Comes After Cleaning
Sanitizing should not be used as a shortcut around washing and scrubbing. Spraying sanitizer over roots, soil, or visible residue does not replace the cleaning process.
Use a sanitizer only according to its label for the intended surface and application. Where relevant, look for food-contact-surface directions. The label determines important details, including:
- How to prepare or dilute the product
- How to apply it
- How long the surface must remain wet
- Whether a potable-water rinse is required afterward
- Whether concentration verification is needed
- Required ventilation or protective equipment
- How long a prepared solution may be used
EPA guidance for food-contact-surface sanitizers makes clear that dilution, wet contact time, rinsing, and drying directions are product-specific. EPA food-contact-surface labeling guidance
Disinfecting Is a Different Product Claim
Disinfecting is not simply another word for sanitizing. Some products may carry both sanitizer and disinfectant claims, but the approved uses and instructions depend on the individual label.
For routine tray hygiene, do not assume that any household disinfectant is appropriate for reusable growing equipment. Follow the product label for the surface, use, contact time, and any post-treatment instructions. EPA
“Sterile” Is Usually the Wrong Goal
A sanitized tray is not necessarily sterile. The practical goal is a tray that has been thoroughly cleaned, sanitized according to applicable label directions, fully dried, and stored so it is not recontaminated before the next crop.
What You Need Before You Start
Set up the cleaning area before bringing in used trays.
Basic tray-cleaning checklist
- Scraper or dedicated tool for removing roots and spent media
- Dedicated scrub brush
- Detergent or cleaner suitable for washing reusable equipment
- Clean potable water
- Sanitizer used according to its label for the intended surface and use
- Appropriate test strips or verification tools, when the sanitizer method calls for them
- Label-required protective equipment, such as gloves or eye protection
- A clean rack or clean surface for draining and air-drying
Before choosing a sanitizer
Read the product label before using it. Confirm:
- The product’s intended use and approved surfaces
- Dilution or preparation instructions
- Required wet contact time
- Whether a potable-water rinse is required
- Required protective measures
- Directions for storing or replacing prepared solution
Do not assume a tray is dishwasher-safe or compatible with a particular cleaning method; check its manufacturer care guidance and the sanitizer label.
Step-by-Step: How to Clean Microgreen Trays
1. Set Up a Dirty-to-Clean Workflow
Create a clear path from dirty trays to clean, dry storage.
Keep used trays, spent media, roots, and dirty cleaning tools on one side of the work area. Move washed and sanitized trays toward a separate drying and storage area. This helps prevent a cleaned tray from being set back onto a dirty table or exposed to splash from used trays.
Storing cleaned equipment in a clean, dry area protected from contamination is consistent with FDA Food Code hygiene principles. FDA Food Code
2. Empty the Tray and Remove Crop Debris
Remove all visible material before rinsing or sanitizing, including:
- Roots
- Growing media
- Seed hulls
- Loose residue
- Labels or tape residue, if present
Scrape or brush out the tray thoroughly. Check the underside, rims, corners, drain holes, and edges that contact other trays when stacked.
If you grow in a drain-hole tray placed inside a solid bottom tray, include both trays in the routine. The lower tray can accumulate water and debris during a crop cycle, so cleaning it is a sensible part of the equipment reset.
3. Pre-Rinse Both Sides
Rinse the tray to remove loose debris before washing it with detergent.
Use this step to flush hard-to-reach areas, including:
- Drain holes
- Corners
- Raised ribs and channels
- Tray rims
- Undersides
- Nesting surfaces on covers or solid bottom trays
Pre-rinsing helps make scrubbing more effective, but it does not replace washing.
4. Wash and Scrub With Detergent
Wash the tray with detergent and water, then scrub all surfaces with a dedicated brush.
Focus on residue-prone areas:
- Corners and seams
- Drain holes
- Tray rims
- Textured surfaces
- Undersides
- Areas where trays stack or nest
Detergent and scrubbing are the cleaning step. They remove soil and residue that could limit sanitizer contact, but they are not the same as sanitizing. University of Minnesota Extension
5. Rinse With Clean Potable Water
Rinse away detergent and loosened residue before sanitizing.
If you can still see roots, media, seed hulls, or residue after rinsing, return to the wash-and-scrub step. Sanitizer should be applied to a physically clean surface.
6. Inspect Until Clean to Sight and Touch
Inspect trays under good light before sanitizing.
A tray is ready when it has:
- No visible roots or growing media
- No seed hull buildup
- No residue in corners or drain holes
- No film that could prevent sanitizer contact
- Surfaces that look and feel clean
The FDA’s “clean to sight and touch” standard is a useful check before the sanitation step. FDA Food Code
7. Sanitize According to the Product Label
Apply sanitizer only after the tray is clean.
Follow the individual product’s directions for:
- Concentration or dilution
- Application method
- Wet contact time
- Rinsing or draining
- Air-drying
- Protective equipment
- Storage and replacement of prepared sanitizer solution
Keep the surface wet for the full label-required contact time. A quick spray followed by immediate draining or wiping may not meet the product’s instructions. EPA food-contact-surface labeling guidance
When your sanitation method requires concentration verification, use the appropriate test strips or other approved test method. This is especially useful for growers mixing sanitizer regularly or cleaning larger numbers of trays. The FDA Food Code similarly calls for a test kit or device that can accurately measure sanitizer concentration in its food-establishment context. FDA Food Code
8. Air-Dry Before Stacking or Reuse
After sanitizing, follow the product label’s directions for draining, rinsing if required, and drying.
Let trays air-dry on a clean rack or clean surface. Avoid towel-drying sanitized equipment, since towels and handling can reintroduce contamination. University of Minnesota Extension
Do not stack or nest trays while they are still wet. FDA Food Code guidance notes that wet stacking can slow drying and create conditions that may support microbial growth. FDA Food Code
Once dry, store trays away from:
- Used trays
- Spent growing media
- Soil or potting materials
- Splash zones
- Dirty brushes or tools
- Unclean harvest containers
How to Choose a Sanitizer for Microgreen Trays
Look for Applicable Label Directions
There is no single sanitizer type, brand, concentration, or contact time that is universally appropriate for every tray and growing setup.
Choose a product based on its label, intended use, and directions for the relevant surface. Do not substitute a social-media recipe, generic dilution chart, or advice meant for a different product.
Follow Dilution and Contact-Time Directions Exactly
Sanitizer performance depends on correct preparation and sufficient wet contact time.
Avoid:
- Guessing at dilution
- Assuming stronger is better
- Assuming a quick mist is enough
- Using a product outside its label directions
- Reusing prepared solution beyond its instructions
EPA labeling requirements make these details product-specific. EPA food-contact-surface labeling guidance
Follow the Label’s Rinse or Air-Dry Instructions
Some sanitizers may direct users to drain and air-dry a surface. Others may require a potable-water rinse after the required contact time.
There is no universal “always rinse” or “never rinse” rule. Follow the individual product label. EPA food-contact-surface labeling guidance
Use Test Strips When Appropriate
For systems that require concentration verification, test strips or another appropriate test method can help confirm that a sanitizer solution is within its usable range.
This can be particularly useful when:
- Mixing sanitizer repeatedly
- Cleaning many trays in one session
- Using a dip tank or larger container
- Training multiple workers
- Maintaining written sanitation records
Use the verification method designed for your specific sanitizer system.
Check Tray Care Instructions
Before using a dishwasher, high heat, or a chemical method, check the tray manufacturer’s care guidance and the sanitizer label. Do not assume a tray is dishwasher-safe or compatible with a particular cleaning method.
What Not to Use as a Substitute for Sanitizing
Vinegar Is Not a Validated Sanitizing Step
Vinegar should not be presented as a substitute for a properly labeled sanitizer in a between-crop tray routine. University of Minnesota Extension specifically states that vinegar is not an acceptable sanitizer for produce-related tools, containers, and surfaces. University of Minnesota Extension
Rinsing and Dish Soap Alone Do Not Replace Sanitizing
Rinsing, detergent, and scrubbing are important cleaning steps. They remove debris and prepare a tray for sanitizing. But cleaning with soap or detergent is not the same as completing a label-directed sanitizing step. EPA
Do Not Use Universal Chemical Recipes
Do not assume that one bleach, hydrogen peroxide, quaternary ammonium, or peroxyacetic-acid recipe is suitable for every tray and growing setup.
The correct method depends on the specific product label, intended use, tray material, application method, water conditions, contact time, and post-treatment directions.
Do Not Assume a Dishwasher Completes the Entire Process
A dishwasher may be suitable for some trays if the manufacturer says so, but it should not be assumed to meet the sanitation needs of every reusable tray. Check the manufacturer’s care instructions, then follow the sanitizer label when a sanitation step is needed.
Common Mistakes When Cleaning 1020 Trays
Avoid these frequent errors:
- Sanitizing over roots, soil, growing media, or seed hulls
- Skipping the scrubbing step
- Treating a quick rinse as complete cleaning
- Guessing sanitizer concentration
- Not keeping surfaces wet for the label-required contact time
- Assuming a sanitizer never requires a rinse
- Using vinegar as the sanitation step
- Towel-drying sanitized trays
- Stacking or nesting trays while wet
- Forgetting drain holes, rims, undersides, or solid bottom trays
- Cleaning the upper tray but not covers, weights, harvest containers, scissors, knives, or dedicated brushes
- Returning clean trays to a dirty work surface
- Assuming tray sanitation alone solves every mold or food-safety concern
When to Deep Clean, Set Aside, or Replace a Tray
When a Tray Has Heavy Residue or Persistent Odor
Do not return a tray to routine use if visible residue remains after normal washing, or if it has an odor that persists after cleaning.
Repeat the wash-and-rinse steps as needed, then inspect and sanitize the tray according to product directions. If it cannot be brought to a visibly clean condition, set it aside for further assessment rather than using it for the next crop.
A persistent odor is an inspection concern, not proof of a particular microbial hazard.
When a Tray Is Difficult to Clean
As a practical hygiene principle, reusable trays should remain reasonably smooth, accessible, and easy to inspect. Set aside trays with:
- Cracks
- Deep scratches
- Chips or pits
- Warping
- Damaged corners or rims
- Drain holes that cannot be cleaned effectively
- Surfaces that remain difficult to inspect after washing
FDA Food Code equipment standards emphasize surfaces that are smooth, accessible, and resistant to deterioration because those features support effective cleaning. Applying that principle to reusable growing trays is practical guidance, not a formal microgreen-specific replacement rule. FDA Food Code
Replace a tray when its condition prevents effective cleaning and inspection—not after a fixed number of crop cycles.
After a Suspected Contamination Event
If you suspect an unusual contamination event, pause routine reuse of affected trays and related equipment. Seek operation-specific guidance from a local extension service or food-safety authority before resuming normal use.
This article does not provide a testing, disposal, or incident-response protocol. One extra wash-and-sanitize cycle should not be treated as a guarantee that every potential concern has been resolved.
Home Grower Routine vs. Small Commercial SOP
A Simple Home Tray-Reset Routine
For home growers, consistency matters more than complexity:
- Remove all spent crop material.
- Rinse and scrub with detergent.
- Rinse with clean potable water.
- Inspect every surface.
- Sanitize according to the label.
- Air-dry completely.
- Store dry trays in a clean area.
Keep the routine simple enough that you will do it after every crop rather than only when trays look visibly dirty.
A Small-Farm Sanitation SOP
Growers selling microgreens can benefit from a written sanitation standard operating procedure, or SOP. Penn State Extension recommends written procedures so workers understand food-safety expectations in microgreen production. Penn State Extension
A simple tray-cleaning log can include:
| Record item | Example information |
|---|---|
| Date | Date trays were cleaned and sanitized |
| Equipment | Tray batch, tray type, covers, tools, or harvest containers |
| Person responsible | Name or initials of the person completing the task |
| Cleaning method | Detergent or cleaner used |
| Sanitizer | Product name or sanitizer system used |
| Verification | Concentration check, when applicable |
| Contact time | Label-required wet contact time |
| Tray condition | Damage, residue, or replacement decision |
| Sign-off | Initials or final check |
FDA sprout guidance offers useful sanitation-policy and recordkeeping examples, but sprout requirements should not be treated as automatic legal requirements for every microgreen grower. Sprouts and microgreens are not identical products, and applicable obligations can vary by location and business. FDA sprout guidance
Research & Further Reading
- U.S. Food and Drug Administration — FDA Food Code
- U.S. Food and Drug Administration — Guidance for Industry: Standards for the Growing, Harvesting, Packing, and Holding of Sprouts for Human Consumption
- Electronic Code of Federal Regulations — 21 CFR § 112.143: Measures for Growing, Harvesting, Packing, and Holding Sprouts
- U.S. Environmental Protection Agency — What’s the Difference Between Products That Disinfect, Sanitize, and Clean Surfaces?
- U.S. Environmental Protection Agency — Label Requirements for Pesticides Used for Sanitation of Food Contact Surfaces
- U.S. Environmental Protection Agency — Pesticide Labeling Questions & Answers
- University of Minnesota Extension — Cleaning and Sanitizing Tools, Harvest Containers and Surfaces
- Penn State Extension — Ensuring Food Safety in Microgreens Production
- Virginia Cooperative Extension — Introduction to Microgreen Production in Indoor Vertical Farms and Greenhouses
- University of Vermont Extension — Indoor Growing at Legacy Greens — operational example for indoor-growing sanitation practices
- Andi’s Way — Growing Trays: 10 x 20 Flats With or Without Drain Holes — company product information, not food-safety evidence
Frequently asked questions
Related guides
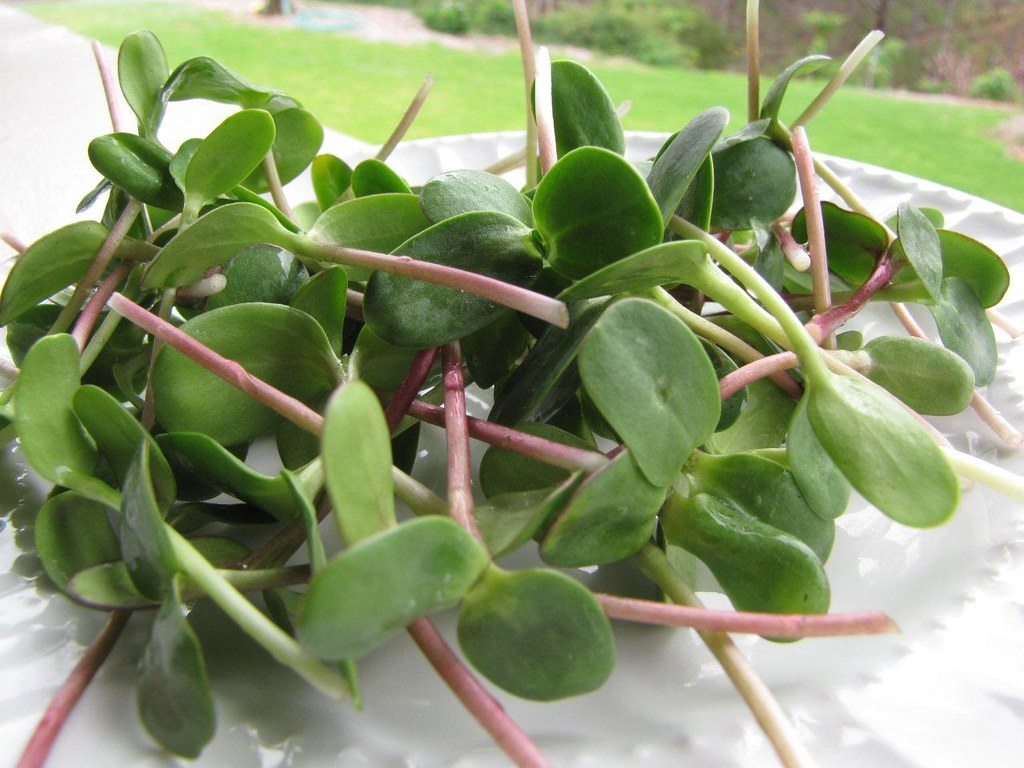
Sunflower Sprouts vs. Sunflower Microgreens: What’s the Difference?
Learn how sunflower sprouts and sunflower microgreens differ in growth stage, harvest method, texture, uses, and raw-food safety considerations.
13 min read
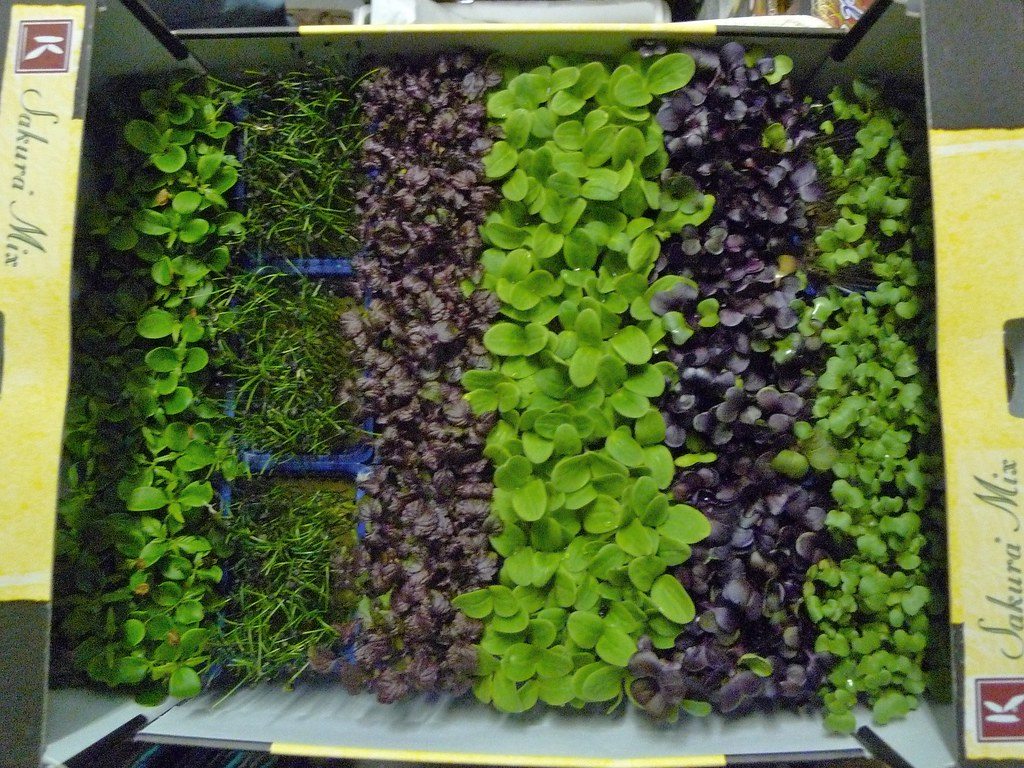
Best Microgreens for Beginners: Radish, Broccoli, Pea, or Sunflower?
Compare radish, broccoli, pea, and sunflower microgreens by seed prep, harvest time, flavor, and beginner-friendliness to choose your first tray.
10 min read
Speckled Pea Seeds for Microgreens: Why Growers Use Them
Learn why growers use speckled pea seeds for pea shoots and microgreens, what to check before buying, and why seed quality matters more than the label alone.
13 min read
Stay in the loop
New guides, when they publish
An occasional email when a new guide goes live. No spam.
Your email is stored privately for future guide updates. No emails are being sent yet. Privacy policy